
Last updated September 20, 2026
Free on-site gate assessment - hinges, posts, and your LiftMaster or Nice gate operator checked before anything is quoted
The assessment is free and the quote is the invoice.


 Before
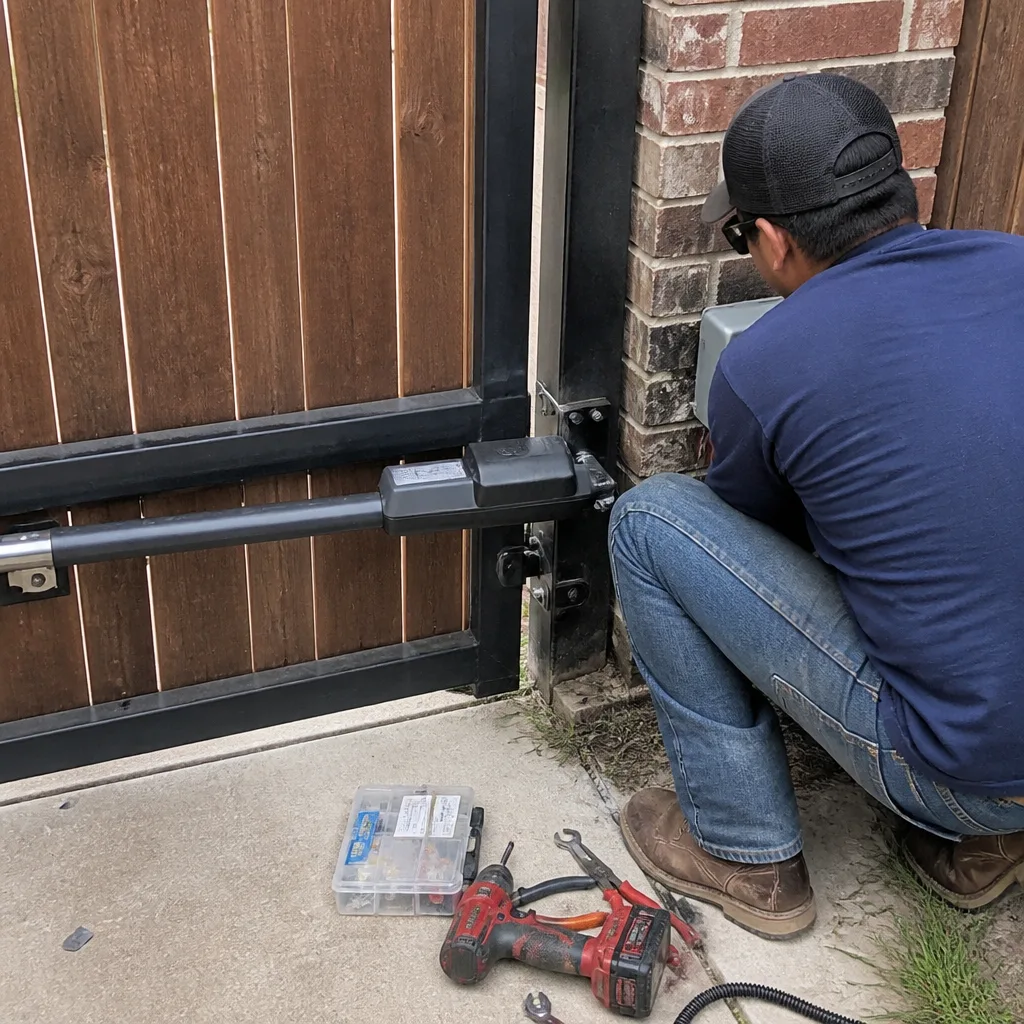 After
After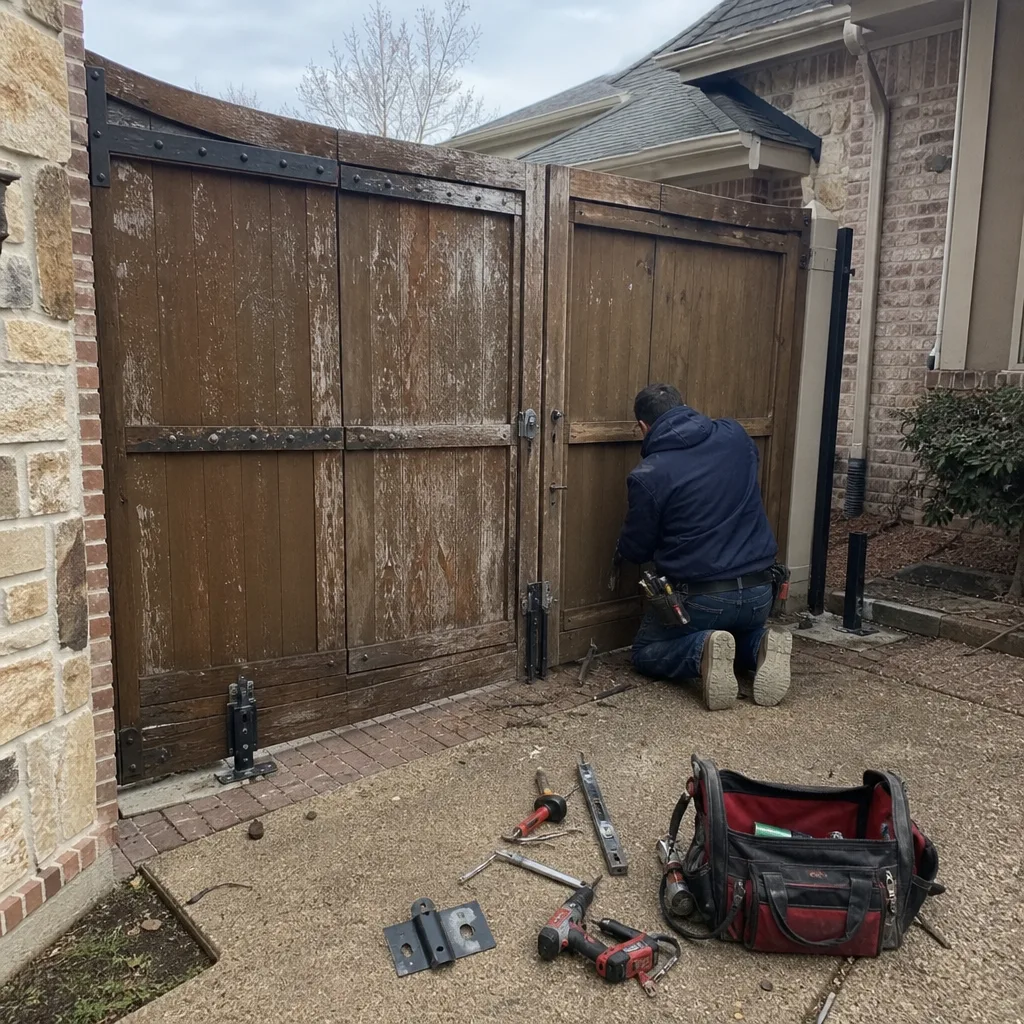 Before
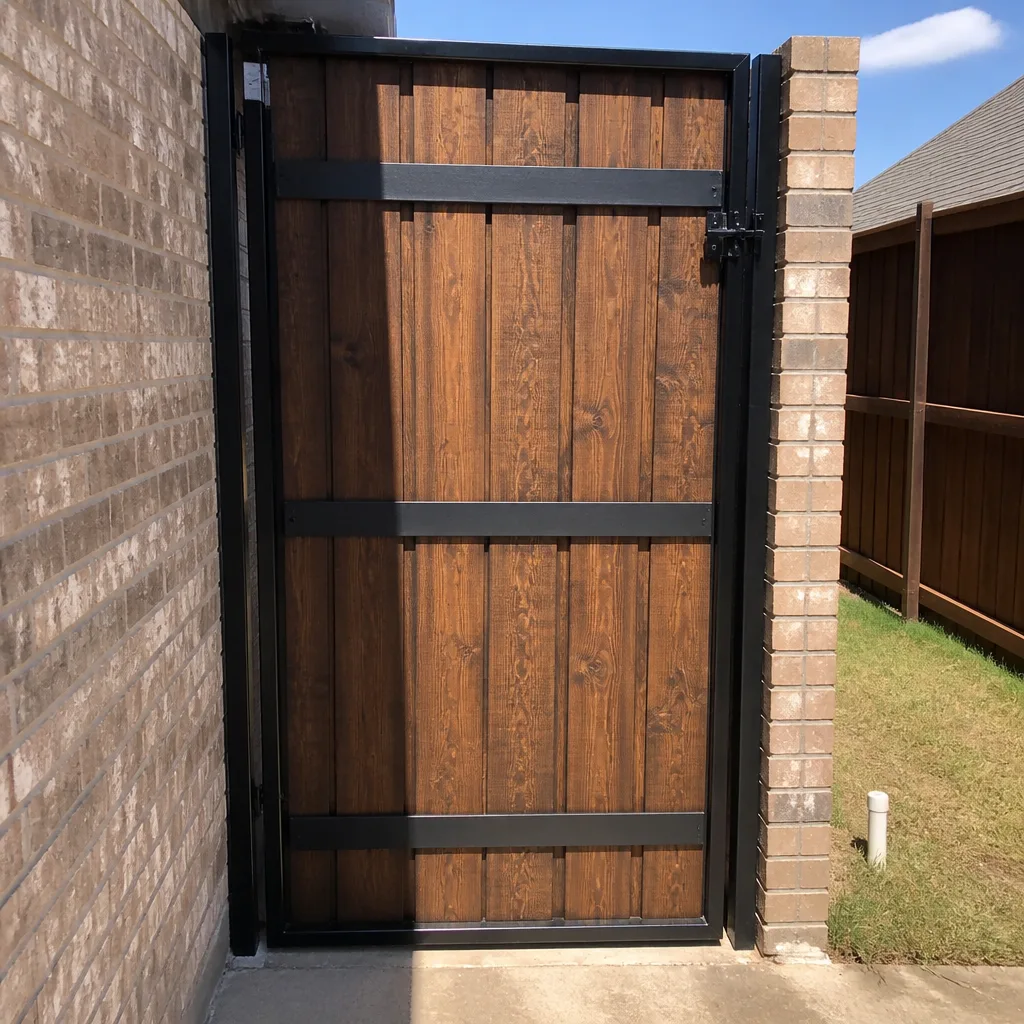 After
After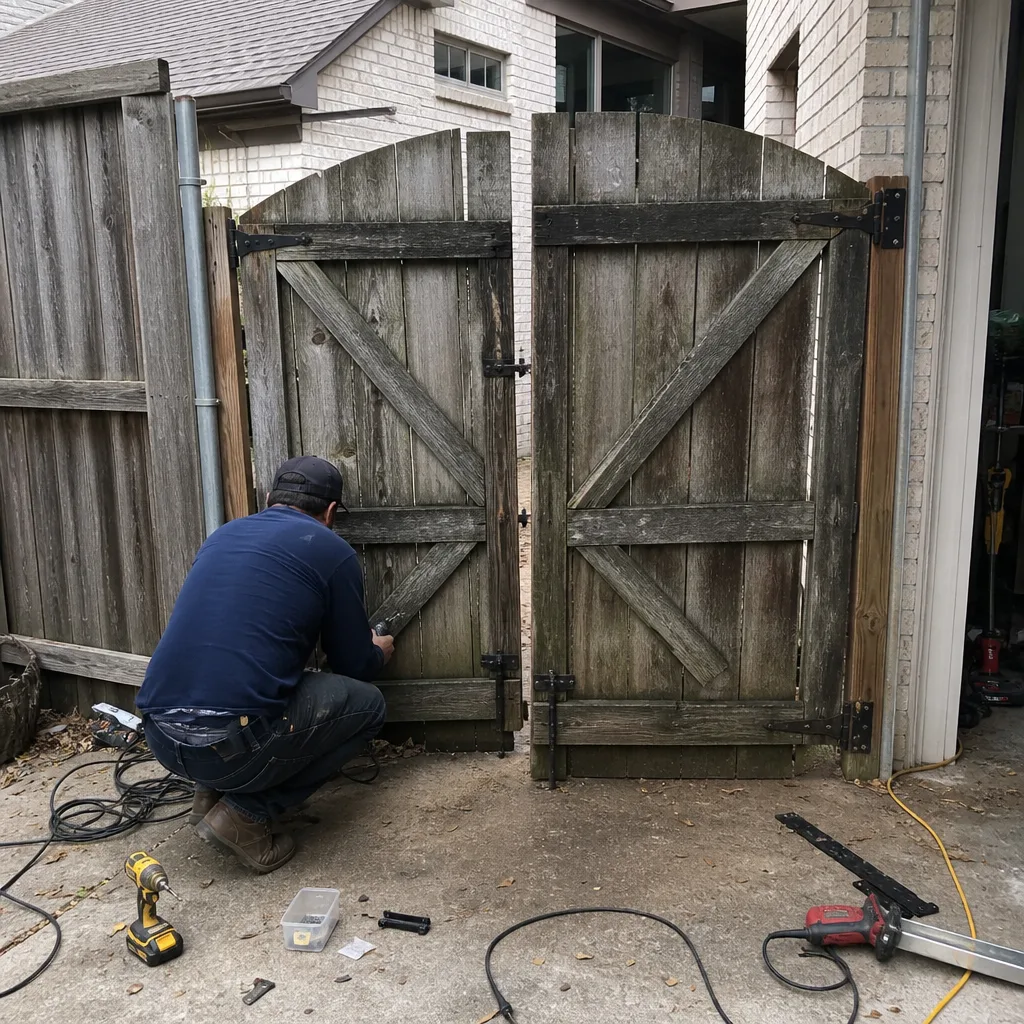 Before
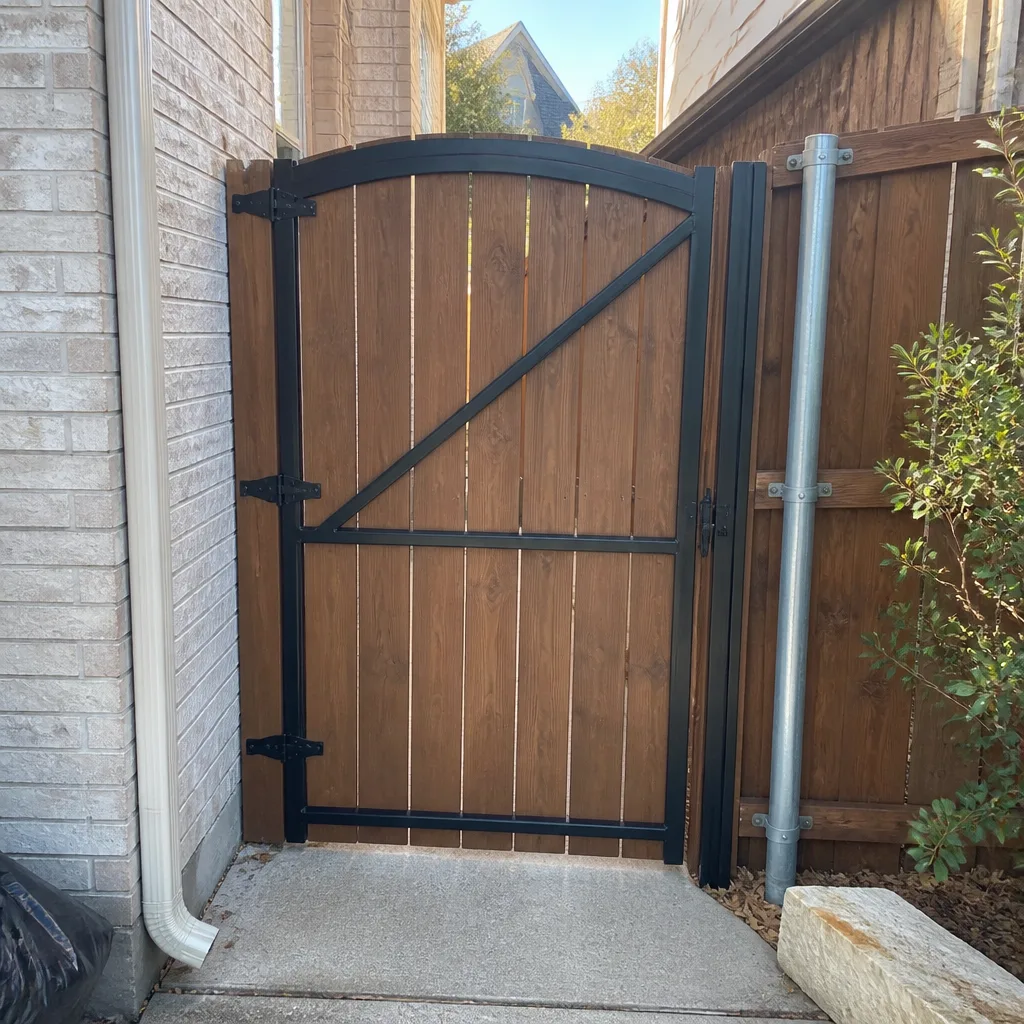 After
AfterDIY vs Professional Gate Repair: The Frisco Homeowner’s Decision Guide
Most Frisco homeowners don’t call us because they lack confidence. They call because they’ve already spent a Saturday afternoon, forty dollars in parts, and three hours on YouTube, and the gate still won’t close. The most expensive repair call we take is the one that comes after a DIY attempt, not because homeowners aren’t capable, but because the second technician has to diagnose both the original problem and what changed during the attempt. This guide draws the real line between what’s worth doing yourself and what’s worth paying for Gate Repair services to handle, based on component cost, liability exposure, and what we’ve documented on thousands of Frisco gates since 2014.
Quick Answer
The DIY decision isn’t about your skill level; it’s about which failure mode you can afford. Battery swaps, remote programming, and minor limit-switch adjustments are genuinely safe for a competent homeowner with the right tools. Wiring, control board work, and hinge realignment are not, because a mistake in those areas multiplies the repair cost by three to ten times. If the worst-case failure costs less than the service call, do it yourself. If it doesn’t, call a professional.
Table of Contents
- Where the Right Line Actually Sits
- Repairs That Are Genuinely Safe for DIY
- Repairs Where a Mistake Multiplies the Cost
- Tool Cost vs. Service Call Cost: The Real Math
- How to Document a DIY Repair So the Next Technician Isn’t Starting From Zero
- Texas Liability: Warranties, Insurance, and Unpermitted Work
- How to Describe a Prior DIY Attempt to a Technician
- Common Mistakes to Avoid
- When to Call a Professional
- Frequently Asked Questions
BeforeAfterWhere the Right Line Actually Sits
The line between DIY and professional gate repair isn’t drawn at confidence or competence. It’s drawn at liability and component cost. A homeowner who replaces a dead battery backup has a worst-case scenario of about thirty dollars and a trip back to the hardware store. A homeowner who miswires a gate operator has a worst-case scenario of a fried control board, which on a DoorKing or Elite swing gate operator in Frisco typically runs $400 to $900 for the board alone, before labor. That’s a different risk profile entirely.
We’ve seen this play out enough times to be blunt about it. The homeowner who adjusts a limit switch too far and burns out a motor. The homeowner who replaces a capacitor with the wrong microfarad rating and takes out the transformer. The homeowner who disconnects a photo-eye to test something, forgets to reconnect it, and then can’t figure out why the gate reverses for no reason. None of these people were incompetent. They were working outside the failure mode they could afford.
In Frisco specifically, the stakes are slightly higher than average. Our clay soil expands and contracts with moisture, which shifts gate posts over time. A gate that was perfectly aligned in March can be binding by July. That means hinge realignment and post adjustment are recurring needs in this market, not one-time fixes. And the power surges we get during spring storm season are hard on gate control boards, which makes correct wiring and proper grounding more important than in areas with more stable electrical conditions.
So here’s the framework we use when a Frisco homeowner asks us whether they should attempt a repair themselves. Ask two questions. First, what’s the worst thing that happens if I get this wrong? Second, what does that worst thing cost to fix? If the worst case is under $100 and no one gets hurt, that’s a reasonable DIY candidate. If the worst case involves a control board, a motor, a hinge under tension, or an electrical panel, the math changes fast.
Repairs That Are Genuinely Safe for DIY
There’s a short list of gate repairs that we genuinely believe a competent Frisco homeowner can handle without professional help, though our Gate Repair Maintenance Checklist for Frisco Homeowners can help you stay ahead of bigger issues. These are tasks where the parts are inexpensive, the tools are common, the failure mode is contained, and the downside of a mistake is limited to wasted time and a second trip to the store. We’re not being generous here; we’re being honest about what these tasks actually involve.
Here’s what we’d consider fair game for a homeowner who can read a manual and follow directions:
- Remote control programming: Most residential gate openers from Ghost Controls, Mighty Mule, and LiftMaster have a clearly labeled learn button on the control board. The programming sequence typically takes under two minutes and is documented in the manual. Worst case: the remote doesn’t program and you try again.
- Battery replacement in remotes and keypads: This is a five-minute job with a small Phillips screwdriver. The battery type is printed on the old battery. Worst case: you buy the wrong size and exchange it.
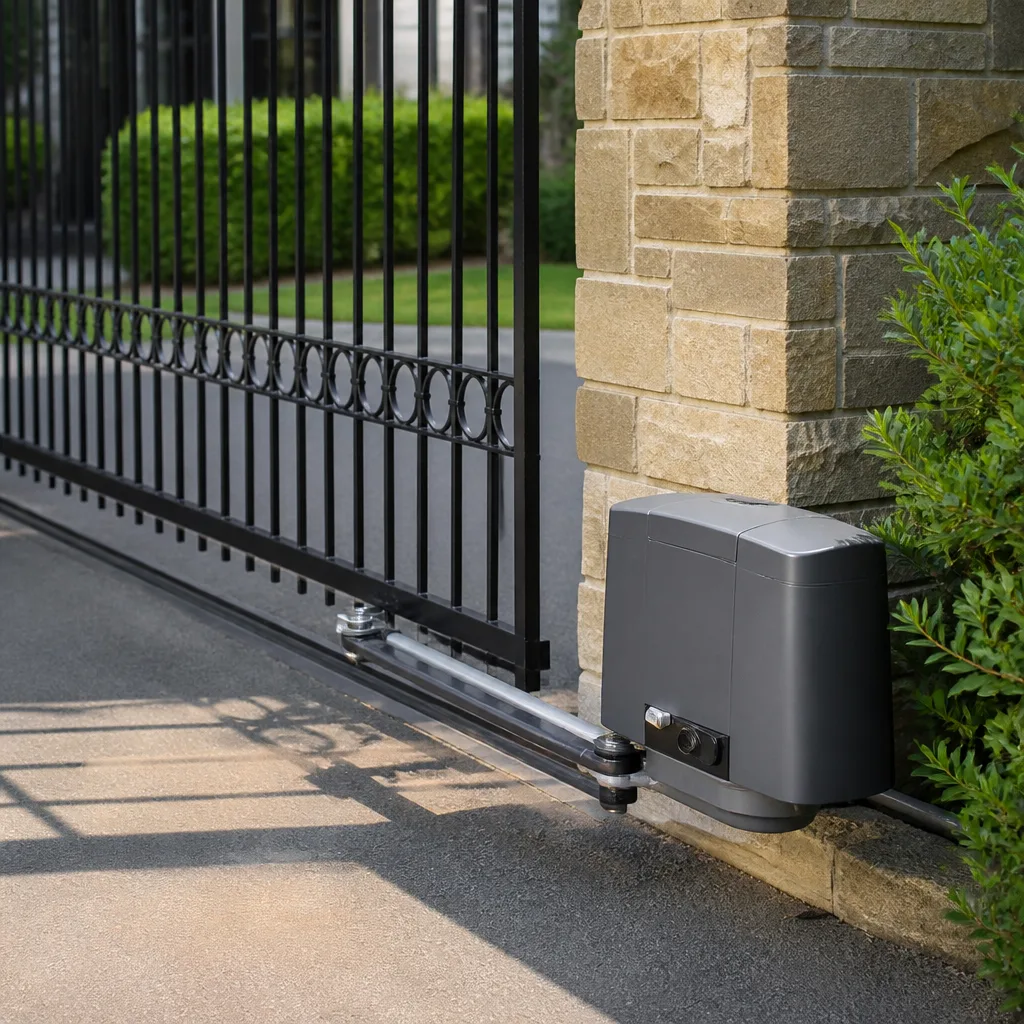
- Battery backup replacement: Most modern gate operators have a replaceable sealed lead-acid or lithium battery backup. The battery is accessible through a panel on the side of the operator housing. Disconnect power to the operator first, remove two terminal leads, swap the battery, reconnect. Worst case: a $30 to $60 battery is wasted.
- Photo-eye cleaning and alignment check: A photo-eye is the infrared beam sensor that stops the gate if something crosses the path. Dust, spider webs, and Frisco’s summer dust storms can block the beam. Cleaning the lens with a soft cloth and verifying the beam is aligned is genuinely simple. Just don’t loosen the mounting bracket unless you’re prepared to re-aim it.
- Minor limit-switch adjustment: If your gate stops a few inches short or travels a few inches too far, the limit switch may need a quarter-turn adjustment. On most residential operators, the limit screws are clearly marked and adjustable with a flathead screwdriver. The key word is minor: a quarter-turn at a time, test, repeat. The moment you find yourself turning the screw a full rotation or more, stop and call someone.
Notice what’s not on this list. No control board work. No wiring. No capacitor replacement. No motor replacement. No hinge work. No post work. Those are all on the other side of the line, and we’ll explain why in the next section.
Repairs Where a Mistake Multiplies the Cost
Some gate repairs look simple from the outside and are anything but. The defining characteristic of this category is that a mistake doesn’t just fail to fix the problem; it creates a new problem that’s more expensive than the original repair would have been. This is where the DIY math stops working.
Here are the repairs we’d never recommend a homeowner attempt, even a homeowner who’s comfortable with a multimeter:
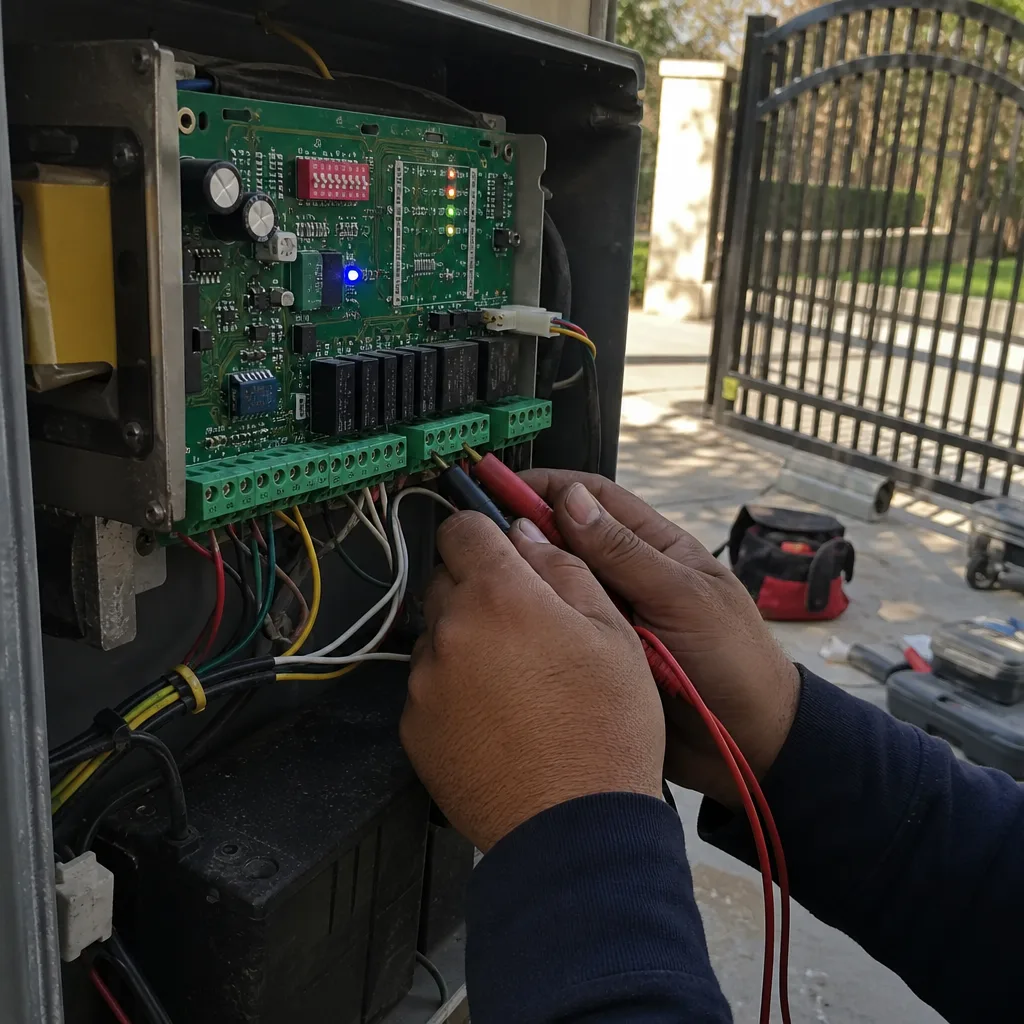
- Control board replacement or repair: A modern gate control board is a computer with dozens of connection points, polarity requirements, and voltage specifications. Wire one terminal incorrectly and you can send 24 volts through a 5-volt circuit. That’s a $400 to $900 board, destroyed in the time it takes to tighten a screw. We’ve also seen boards damaged by static discharge from improper handling.
- Wiring of any kind: Gate operators mix low-voltage control wiring with line-voltage power. The two are not interchangeable, and the insulation colors are not standardized across brands. What’s red on a LiftMaster board may be blue on a FAAC. A miswire can energize the wrong circuit, short the transformer, or create a fire hazard. In our experience, wiring mistakes are the single most common cause of DIY-related board failures.
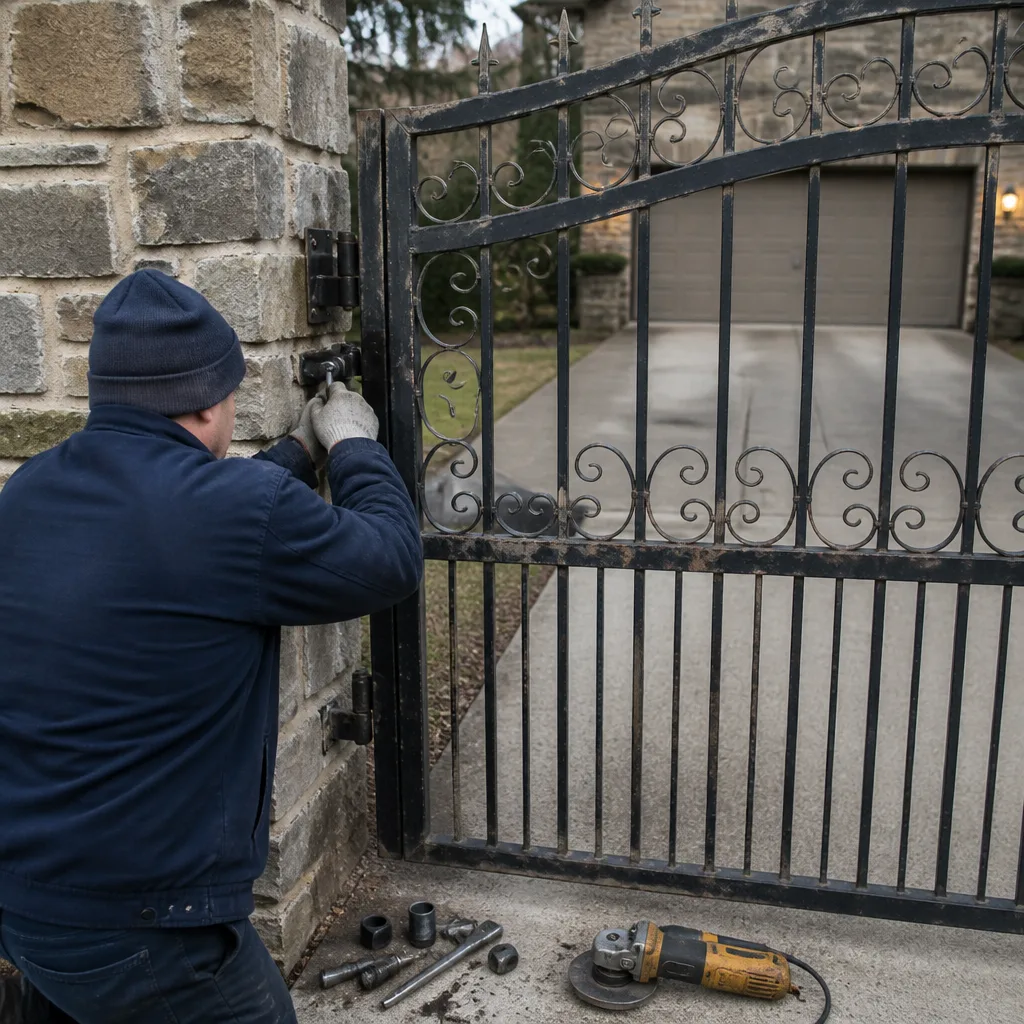
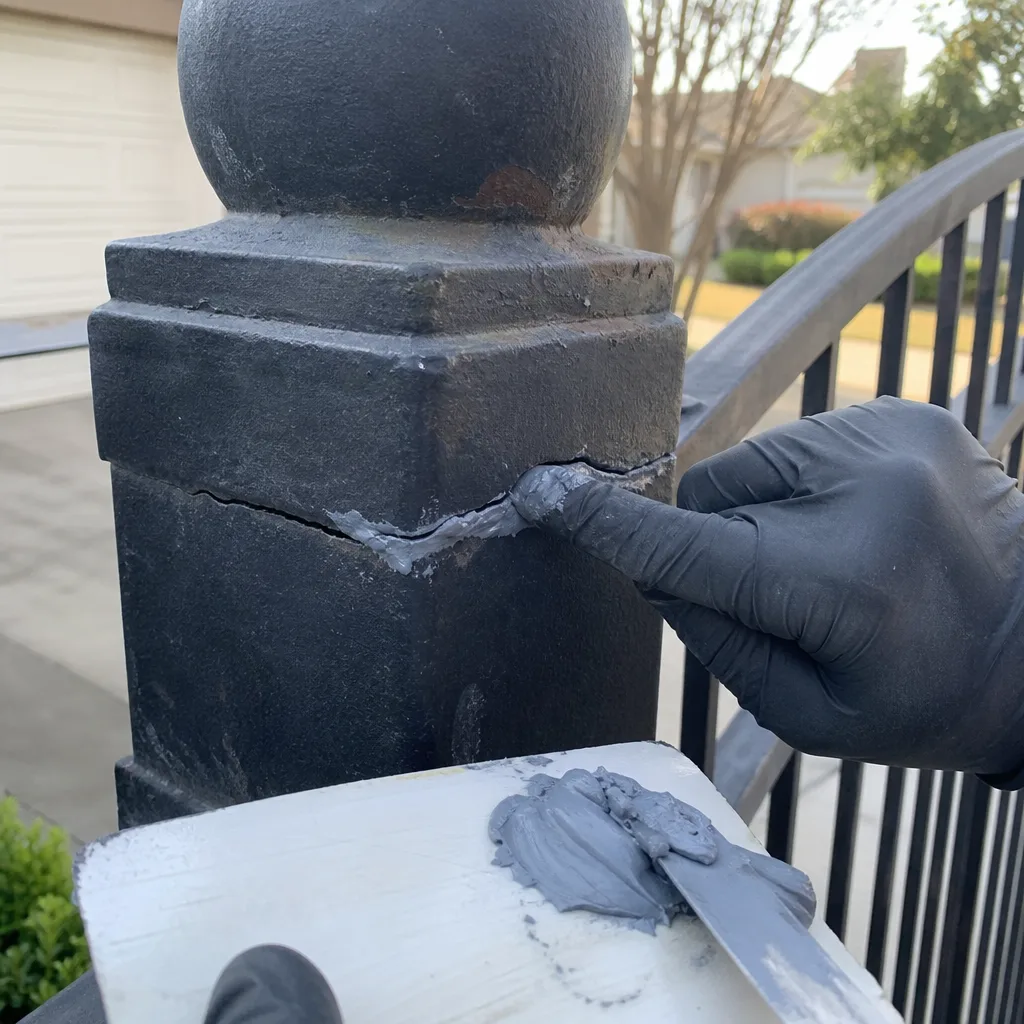
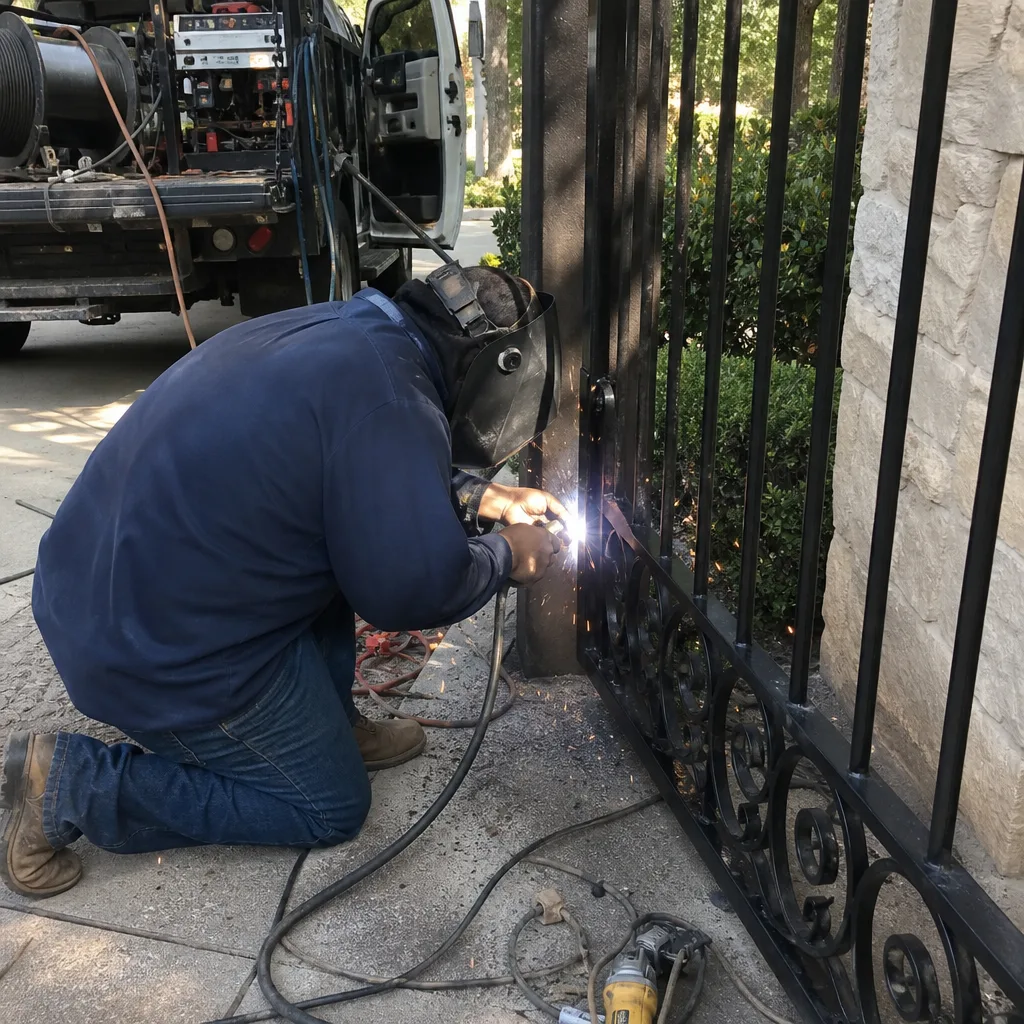
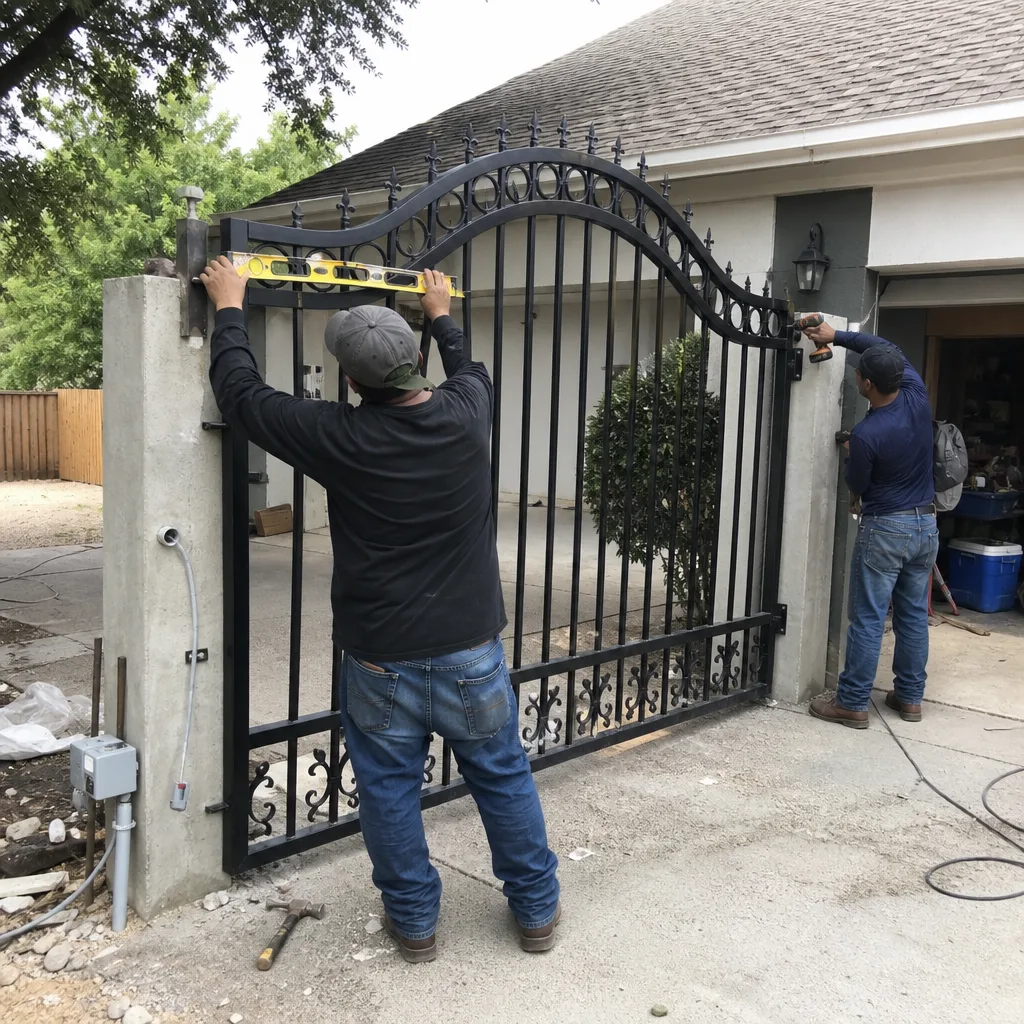
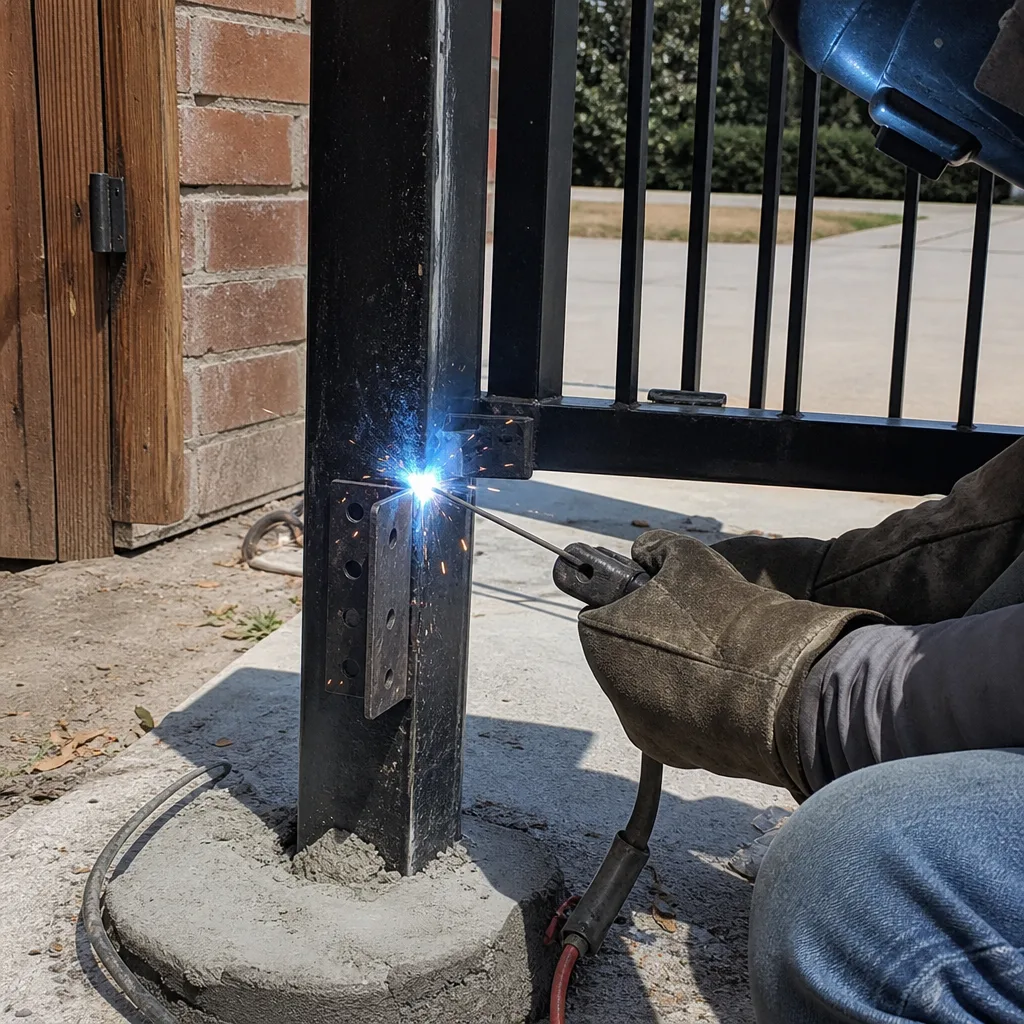
- Hinge realignment and post adjustment: A swing gate under tension stores energy. When you remove a hinge pin or loosen a hinge bolt, that energy releases. Gates in Frisco are heavy, often 300 to 800 pounds of steel or wrought iron. If the gate shifts during hinge work, the force can crush fingers, break bones, or worse. Beyond the safety risk, a misaligned hinge set means the gate binds, strains the motor, and eventually burns out the operator. This is a job for someone with the right lifting equipment and experience reading gate geometry.
- Capacitor replacement: Capacitors store electrical charge even after power is disconnected. A capacitor that hasn’t been properly discharged can deliver a painful and potentially dangerous shock. Additionally, capacitors are rated by microfarads and voltage, and substituting the wrong rating can damage the motor or the control board. This is a $15 part that can cause $600 in damage when installed incorrectly.
- Motor replacement: Replacing a gate motor requires disconnecting the gate from the operator, removing the old motor, mounting the new motor with correct alignment, and reconnecting mechanical and electrical components. A misaligned motor shaft binds under load and destroys the new motor. We’ve replaced new motors that failed within a month because they were installed a few degrees out of alignment.
- Any repair involving line-voltage electrical work: This is the bright line. If the repair requires you to open a junction box, splice into household wiring, or work inside a breaker panel, it’s not DIY territory. In Texas, unpermitted electrical work can void your homeowner’s insurance coverage and create liability exposure if something goes wrong.
The pattern here is consistent: these are all repairs where the cost of failure is high, the safety risk is real, or both. When a homeowner calls us after attempting one of these, the diagnostic process always starts with the same question: what did you change? And the answer often determines whether we’re doing a $200 repair or a $900 replacement.
Tool Cost vs. Service Call Cost: The Real Math
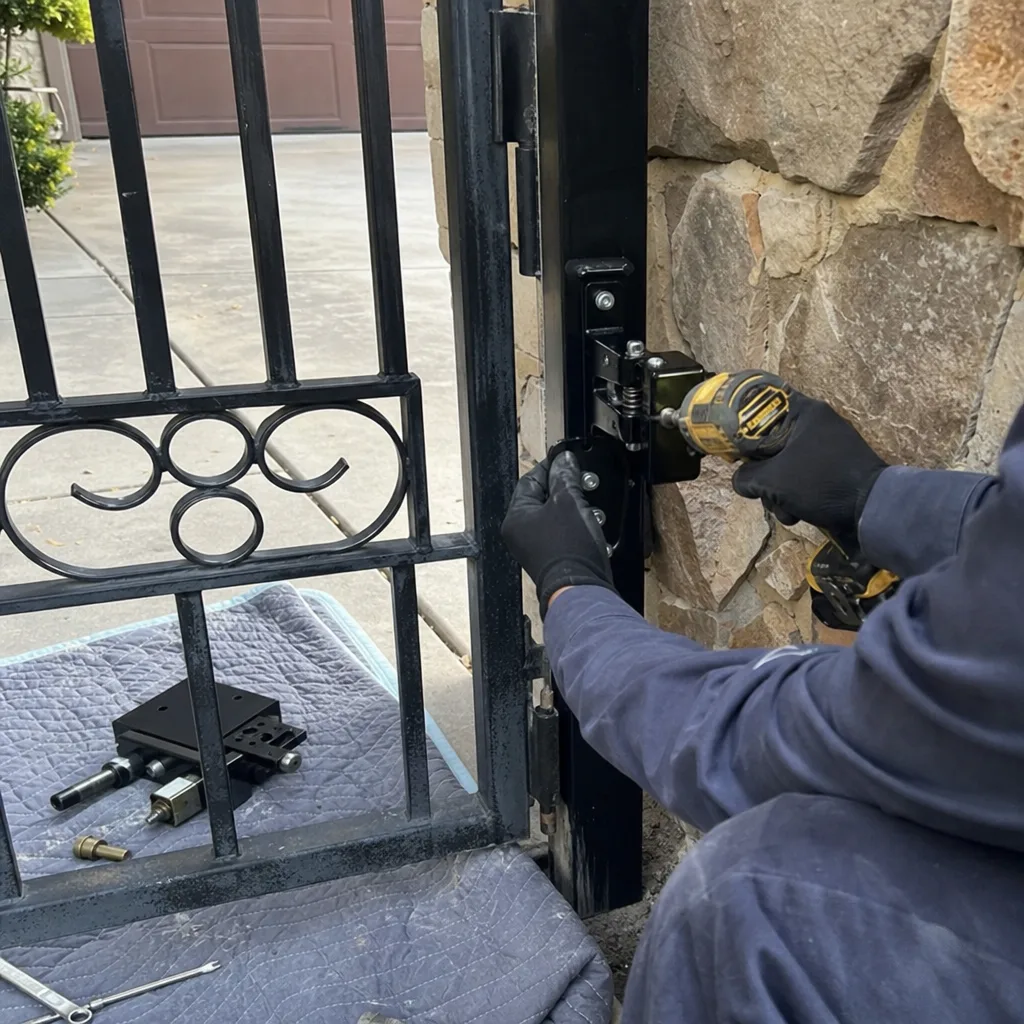
Before you attempt a DIY gate repair, you should actually do the math. It’s not about whether you can do it. It’s about whether doing it yourself actually saves money once you account for tools, parts, and the value of your time. In some cases, DIY is only cheaper if you already own the tools. In others, the service call is genuinely less expensive than the tool investment.
Here’s a breakdown of the tools required for each DIY-appropriate repair and what they cost at Frisco hardware stores:
| Repair Task | Tools Required | Approximate Tool Cost | Typical Professional Service Call |
|---|---|---|---|
| Remote programming | None (manual + ladder if operator is mounted high) | $0 | $75-$125 |
| Remote/keypad battery replacement | Small Phillips screwdriver | $5-$10 if not owned | $75-$125 |
| Battery backup replacement | Phillips screwdriver, adjustable wrench | $15-$25 if not owned | $125-$200 |
| Photo-eye cleaning/alignment | Soft cloth, small level | $10-$20 if not owned | $100-$175 |
| Minor limit-switch adjustment | Flathead screwdriver, patience | $5-$10 if not owned | $100-$175 |
The math is clear for remote programming and battery swaps: if you own a screwdriver, DIY is essentially free. The service call minimum in Frisco typically runs $75 to $125 just to get a technician to your property, so spending five minutes on a remote battery makes obvious sense.
Where the math shifts is on tasks that require specialty tools. A hinge realignment on a swing gate requires a floor jack or gate lift stand ($80 to $200), a torque wrench ($40 to $120), shims, and often a second set of hands. By the time you’ve assembled the right equipment, you’ve spent more than a professional service call, and you still have to do the work correctly. A post realignment on a Frisco gate set in expansive clay soil may require a concrete saw or post puller. That’s not a tool most homeowners should buy for one job.
There’s also the frequency question. If you adjust your gate’s limit switch twice a year because of seasonal temperature swings, learning to do it yourself makes sense; you’ll save $200 to $350 a year. If you need it done once every three years, the amortized savings is under $10 per month, and you’d be paying that for the privilege of spending Saturday morning on a ladder in the heat.
One more factor to include in the math: documentation. When we complete a repair in Frisco, we leave a written record of what was found, what was adjusted, and what was installed. That documentation has real value. It means the next repair starts from a known baseline instead of a guess. If you do a DIY repair and don’t document it, you’ve saved money on this repair but potentially increased the diagnostic cost of the next one. We’ll cover how to prevent that in the next section.
How to Document a DIY Repair So the Next Technician Isn’t Starting From Zero
This is the section that most DIY gate repair guides skip, and it’s the one that saves you real money when the next repair comes. The difference between a 30-minute diagnostic and a 90-minute diagnostic is almost always documented history. If you do a DIY repair and leave a clear record, the next technician can pick up where you left off. If you don’t, they’re paying for the privilege of rediscovery.
Our Vance Gate Repair Frisco home practice is built on a documentation standard we call The Haven Standard: a written scope, a written price, and photographic evidence on every visit. You don’t need to replicate that fully as a homeowner, but you can borrow the format. Here’s what matters:
- Write down the date and what you observed. Not what you thought was wrong; what you observed. “Gate stopped 4 inches from closed position. Motor hummed for 2 seconds then stopped.” That’s useful. “Gate was acting weird” is not.
- Note the exact adjustment you made. “Turned the close limit screw 1/4 turn counterclockwise. Tested. Gate now stops 1 inch from closed.” Include the number of turns and direction. Include what changed after the adjustment.
- Photograph the before and after. Take a photo of the limit switch position before you touch it and after you adjust it. Take a photo of the wiring connections before you disconnect anything and after you reconnect it. These photos are worth their weight in diagnostic time.
- Record the part number of anything you replace. Battery, remote, photo-eye, whatever the part is, the part number is printed on the component or its packaging. Write it down. The next technician can look up the spec in 30 seconds instead of guessing.
- Store the record where you can find it. A notes app, a folder on your phone, a piece of paper taped inside the operator housing. The location matters less than the consistency. Every gate repair, DIY or professional, goes in the same place.
When we arrive at a gate where the homeowner has kept this kind of log, the visit goes twice as fast. We know what was tried, what changed, and what the gate looked like before and after. That’s the same documentation standard we apply to every one of our own Gate Repair in Frisco jobs, and it’s the reason our customers don’t pay twice to have the same problem diagnosed.
One specific tip we give every Frisco homeowner: photograph the control board before you do anything. Take the cover off the operator, snap a photo of the board with all wiring visible, and save it. If you ever need to describe a wiring question to anyone over the phone, that photo is the single most useful thing you can hand them. We’ve had customers text us board photos before scheduling a repair, and in about a third of cases, the photo alone lets us identify the likely problem before we even drive out.
Texas Liability: Warranties, Insurance, and Unpermitted Work
Here’s the part of the DIY gate repair conversation that most guides avoid entirely, and it matters as much in Frisco as anywhere in Texas. When you open your gate operator and start changing things, you’re not just taking on a mechanical project. You’re potentially altering your legal exposure in ways that survive long after the gate is fixed.
First, manufacturer warranties. Every major gate operator brand we service, including Ghost Controls, DoorKing, Elite, and Mighty Mule, includes language in the warranty documentation stating that the warranty covers defects in materials and workmanship under normal use. What it doesn’t cover is damage caused by improper installation, unauthorized modification, or repair by unqualified persons. If you replace a control board yourself and miswire the new one, the manufacturer will almost certainly deny the warranty claim. You’ve now paid for a board twice: once for the one you bought, once for the one the professional installs.
The language matters here. “Unauthorized modification” is a broad term that can include something as seemingly innocent as splicing a wire or replacing a capacitor with a different rating. We’ve seen warranty claims denied because a homeowner replaced a limit switch with a non-OEM part that technically fit but wasn’t rated for the operator. The manufacturer’s position is defensible: they can’t warranty a product that’s been altered outside their spec.
Second, homeowner’s insurance. Texas homeowner’s policies generally cover sudden and accidental damage, including damage from electrical issues. But policies also include exclusions for damage resulting from faulty workmanship or unpermitted modifications. Here’s the specific scenario that matters in Frisco: you rewire part of your gate operator, the wiring fails six months later, and the resulting electrical fire damages your garage or the gate itself. If the insurance adjuster determines the fire originated from unpermitted electrical work you performed, the claim can be denied. That’s a six-figure exposure from a fifteen-dollar wiring job.
Third, municipal permitting. Frisco requires permits for certain types of electrical work, including new electrical circuits and some types of gate operator installation that involve line-voltage connections. The specific requirements vary by project scope, and the City of Frisco’s building inspection office is the authority on what does and doesn’t require a permit. We’re not going to quote specific code sections here because they change and we don’t want to give you outdated information. What we’ll say plainly: if the repair you’re considering requires adding a circuit, modifying your breaker panel, or running new line-voltage wiring, check with the city first. The cost of the permit is trivial compared to the cost of resolving an unpermitted-work issue during a home sale or after an insurance claim.
None of this is meant to scare you off DIY entirely. It’s meant to make the decision honest. The battery swap and the remote programming carry none of this exposure. The wiring project carries all of it. The line between the two categories isn’t arbitrary; it’s drawn by the legal and financial consequences of failure.
How to Describe a Prior DIY Attempt to a Technician
This section is for the homeowners who’ve already done the DIY attempt and found themselves stuck. You’re calling a professional anyway, and the way you describe what happened will either save you an hour of diagnostic time or cost you an extra service visit fee. We’ve taken thousands of these calls, and the pattern of what helps versus what wastes time is consistent.
Here’s what a technician actually needs to know:
- The exact symptom before you started. What was the gate doing or not doing? Be specific. “The gate would open but not close, and it beeped three times before reversing” is useful. “It was broken” is not.
- What you attempted. Name the specific action: “I replaced the battery backup,” “I adjusted the close limit screw,” “I disconnected the photo-eye to test something.” Don’t be embarrassed and don’t minimize. We need the truth to work efficiently.
- What changed after your attempt. Did the symptom improve, worsen, stay the same, or become something entirely new? “After I reconnected the photo-eye, the gate wouldn’t move at all” tells us something important about what you may have shorted or miswired.
- Any parts you replaced. Part number if you have it, brand if you don’t. If you installed a non-OEM part, say so. We need to know whether the component in there now is original or a substitution.
- Photos you took. The before and after photos we recommended in the documentation section. Text them to the technician ahead of the visit if that’s an option. The board photo is the single most valuable one.
Here’s what wastes the visit:
- A detailed explanation of your troubleshooting process. We don’t need to hear that you watched three YouTube videos, read a forum thread, and called your cousin who’s an electrician. We need to know what you physically did to the gate. Everything else is narrative, and narrative doesn’t help us fix the problem faster.
- Guesses about what’s wrong. “I think it might be the capacitor” or “My neighbor said it’s probably the control board.” Unless you have a multimeter reading or a specific observation to back that up, it’s not diagnostic information. It’s noise.
- Apologies and justifications. You don’t need to explain why you attempted the repair yourself. Homeowners attempt DIY repairs for perfectly reasonable reasons, and we don’t judge. Save the time and give us the facts.
One specific example from our Frisco service area: a homeowner called us after replacing a Mighty Mule control board himself. He told us the part number, the symptom before, and that after his replacement the gate would open but immediately reverse. That’s a textbook photo-eye or safety-edge signal failure, and we diagnosed it over the phone in about three minutes. The visit took forty-five minutes. Compare that to a call where the homeowner says “the gate’s been acting up and I tried some stuff” and we spend the first hour reverse-engineering what “some stuff” means.
The principle here is the same one that governs our own Gate Motor & Opener in Frisco service: documentation reduces diagnostic time. Your job as the DIY-attempting homeowner is to provide the documentation. The technician’s job is to use it.
Common Mistakes to Avoid
- Disconnecting wires without photographing the board first. This is the single most expensive mistake we see in Frisco. Once a wire is loose, you have to guess where it goes, and a wrong guess costs a control board. Take the photo before you touch anything.
- Adjusting the limit switch in large increments. A full turn on a limit screw can move the gate’s stopping point by several inches, enough to slam the gate into the post or strip a gear. Quarter-turn adjustments only, with a test cycle after each one.
- Replacing a capacitor without discharging it first. Capacitors hold charge after power is off. Discharge it properly or don’t touch it. The shock is painful, and the reflexive jerk from the shock can send your hand into moving parts.
- Forcing a gate that’s binding instead of finding the bind. If your gate is grinding or straining, don’t shove it. The bind is the problem, and forcing the gate just transfers the stress to the motor, the hinges, or the post. Frisco’s clay soil means post movement is a regular culprit.
- Skipping the documentation step after a successful DIY repair. If you fix it yourself and don’t write down what you did, you’ve saved money today and set up an expensive diagnostic tomorrow. The log takes five minutes.
- Assuming all gate operator brands wire the same way. They don’t. What works on a Ghost Controls board may not apply to a DoorKing or Elite board. Colors, terminal labels, and voltage specs vary by manufacturer and sometimes by model year. Never assume a wire color means the same thing on a different brand.
- Testing a repair with the gate disconnected from its safety devices. If you’ve bypassed the photo-eye or safety edge to test something and then forget to reconnect it, you’ve created a safety hazard that can injure a child or pet. Reconnect everything before you declare victory.
When to Call a Professional
The short version: call a professional when the worst-case failure of your repair attempt costs more than the service call, when the repair involves wiring or control boards or hinges under tension, or when you’ve already attempted a fix and the gate is now behaving worse than before. There’s no shame in any of these situations. The shame is in paying twice: once for your own parts and once for the repair that should have happened first.
If you’re in Frisco and you’re looking at a gate problem that’s outside the DIY-safe list, or you’ve already attempted a repair and hit a wall, Gate Repair in Frisco is what we do every day. We provide a written price before any work starts, take photo documentation on every visit, and our work is covered by a 365-day promise. No pressure, no urgency theatre, just a straight answer about what’s wrong and what it costs to fix. Call (940) 290-7996 for a free estimate, and if you’re considering a Gate Installation in Frisco instead of a repair, we’ll tell you honestly which one makes more sense.
Frequently Asked Questions
Most residential gate repairs in Frisco run between $125 and $400 depending on the problem. A limit-switch adjustment typically runs $100 to $175, a photo-eye replacement $150 to $300, and a control board replacement $400 to $900 including parts. The price is always written and agreed before any work starts, so you never get an invoice bigger than the quote. Call (940) 290-7996 for an exact quote on your specific gate.
Yes, a minor limit-switch adjustment is genuinely DIY-safe as long as you work in quarter-turn increments, test after each adjustment, and document what you changed. The danger comes when the adjustment requires more than a full turn of travel, because that indicates a different problem, like a shifted post or a worn gear, rather than a simple limit-setting issue.
The most expensive mistake we see is a miswired control board. Homeowners disconnect wires without photographing the original configuration, then reconnect them in the wrong positions, which shorts the board and destroys it. The result is a $400 to $900 replacement for what would have been a $150 repair.
Most gate repairs that don’t involve new electrical circuits or line-voltage wiring don’t require a permit in Frisco. If your repair requires adding a circuit, modifying the breaker panel, or running new line-voltage electrical work, you should check with the City of Frisco’s building inspection office before starting. Unpermitted electrical work can affect your insurance coverage.
Have the operator brand and model number, a description of the symptom, a list of anything you’ve already attempted, and a photo of the control board if you can open the operator housing safely. That information alone often lets a technician diagnose the likely problem before they even arrive, which saves you diagnostic time.
Most residential gate repairs in Frisco take between one and two hours when the problem is properly documented. Repairs where the homeowner has already attempted a fix and can’t describe what changed often take twice as long because the technician has to reverse-engineer the DIY modifications before addressing the original problem. Documentation is the single biggest variable in visit time.
The Bottom Line
The DIY gate repair decision comes down to one question: what’s the worst thing that happens if you get it wrong? Battery swaps, remote programming, photo-eye cleaning, and minor limit adjustments have contained failure modes and genuinely make sense for a competent homeowner with a screwdriver and some patience. Wiring, control boards, hinge work, and capacitor replacement have failure modes that multiply your original problem, and sometimes void warranties or complicate insurance claims along the way. Document what you do, photograph the board before you touch it, and if the worst case makes you flinch, call someone who does this every day. For more guides & resources on keeping your gate in top shape, see our blog. In Frisco, that’s what we’re here for.
Contact Vance Gate Repair Frisco
If you’ve read this far and you’re still not sure whether your gate problem is DIY-safe, call us. We’ll talk you through what you’re seeing and give you a straight answer about whether it’s worth a service visit. If it is, we’ll hand you a written price before any work starts, document everything we find and fix, and stand behind the work for a full year. That’s Vance Gate Repair Frisco home for you. Call (940) 290-7996 for a free estimate.
Written by Adrian Vance, Owner at Vance Gate Repair Frisco, serving Frisco since 2014.