
Last updated September 20, 2026
Free on-site gate assessment - hinges, posts, and your LiftMaster or Nice gate operator checked before anything is quoted
The assessment is free and the quote is the invoice.

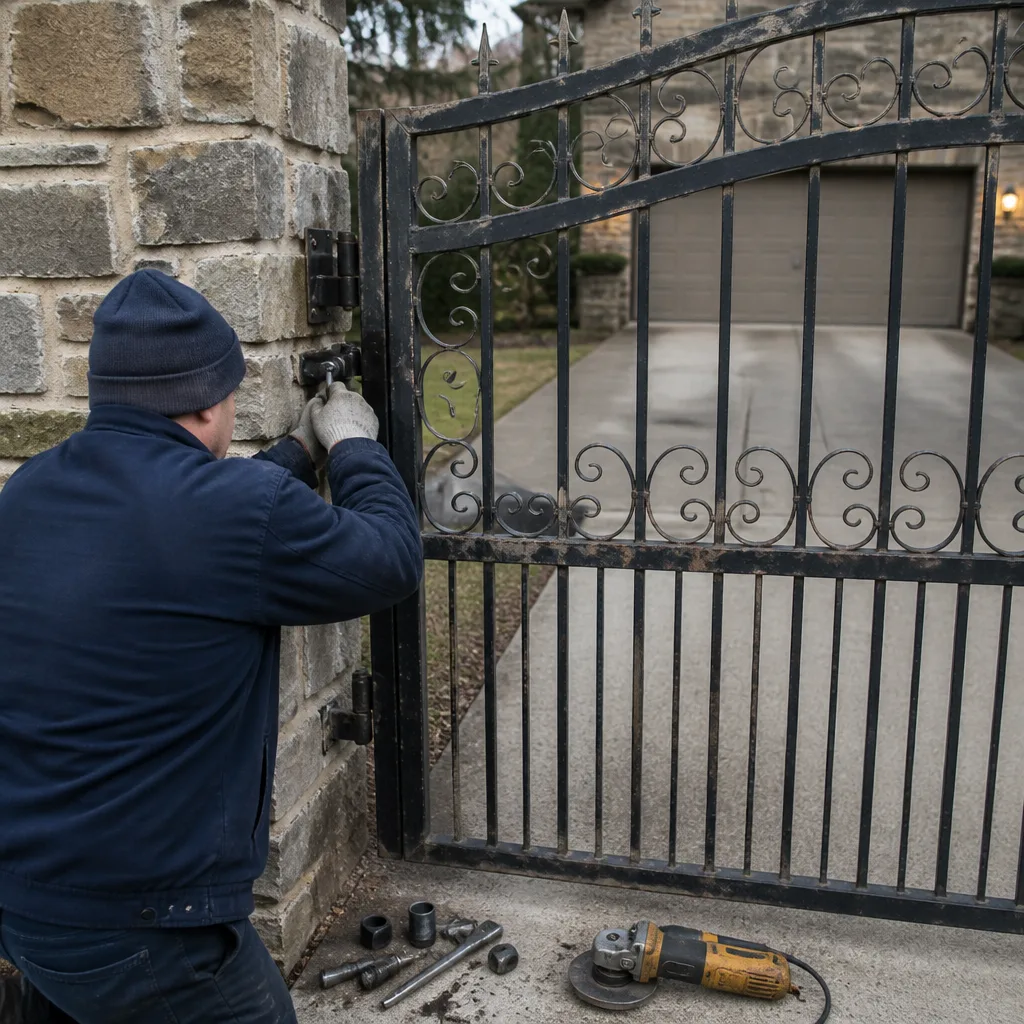 Before
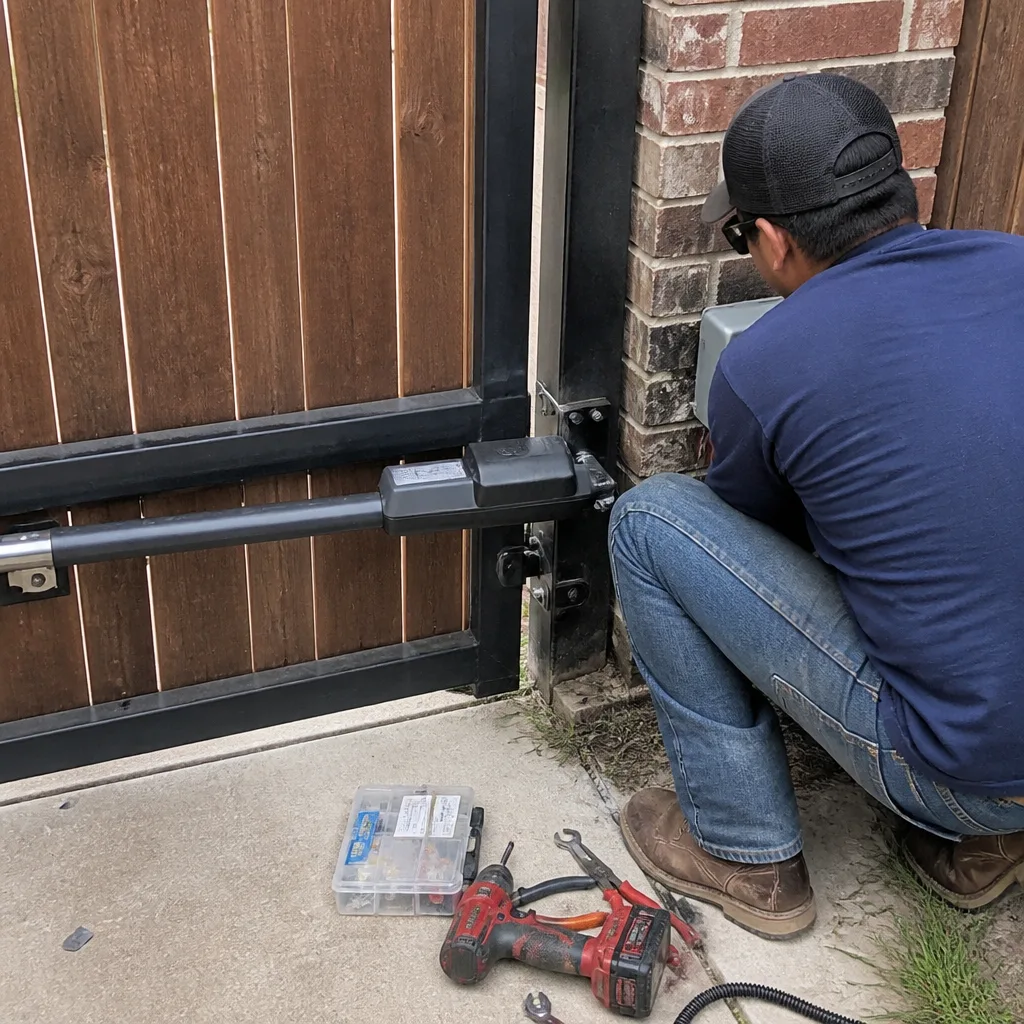 After
After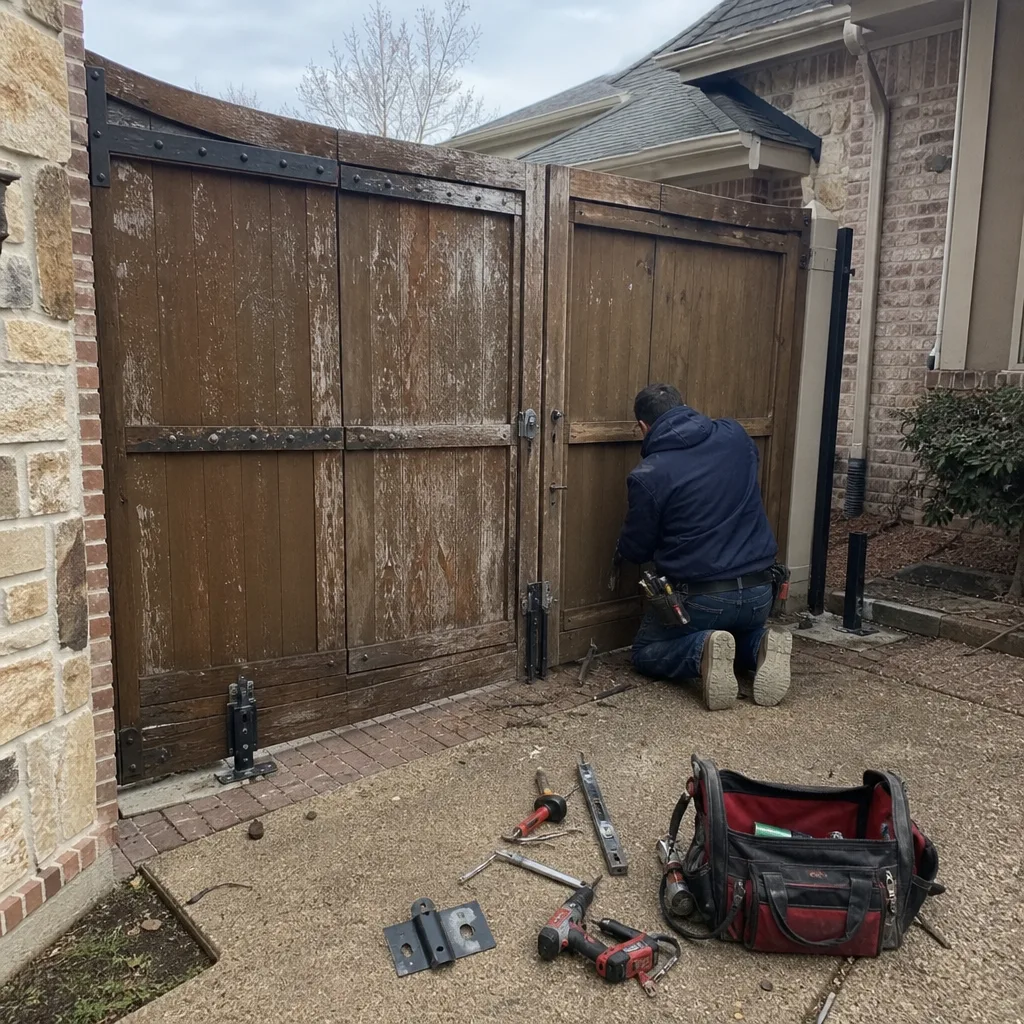 Before
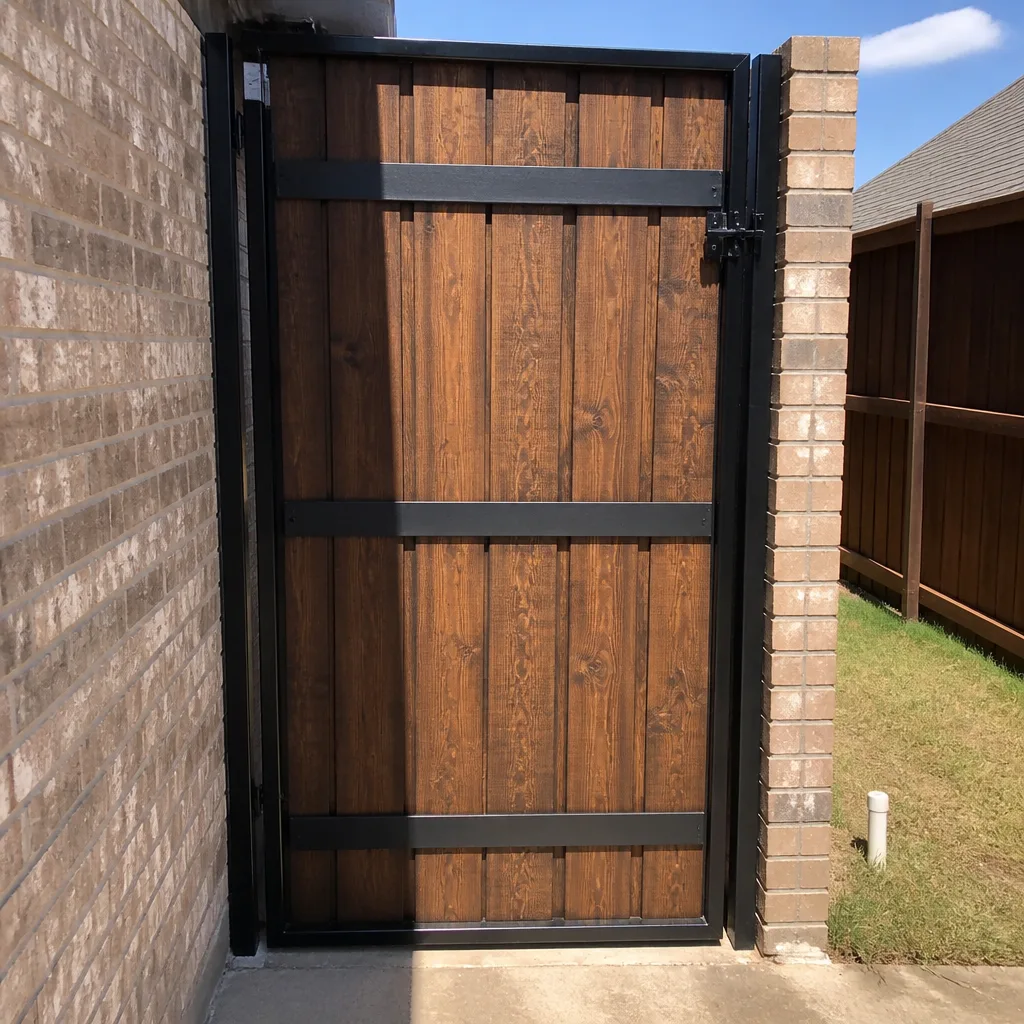 After
After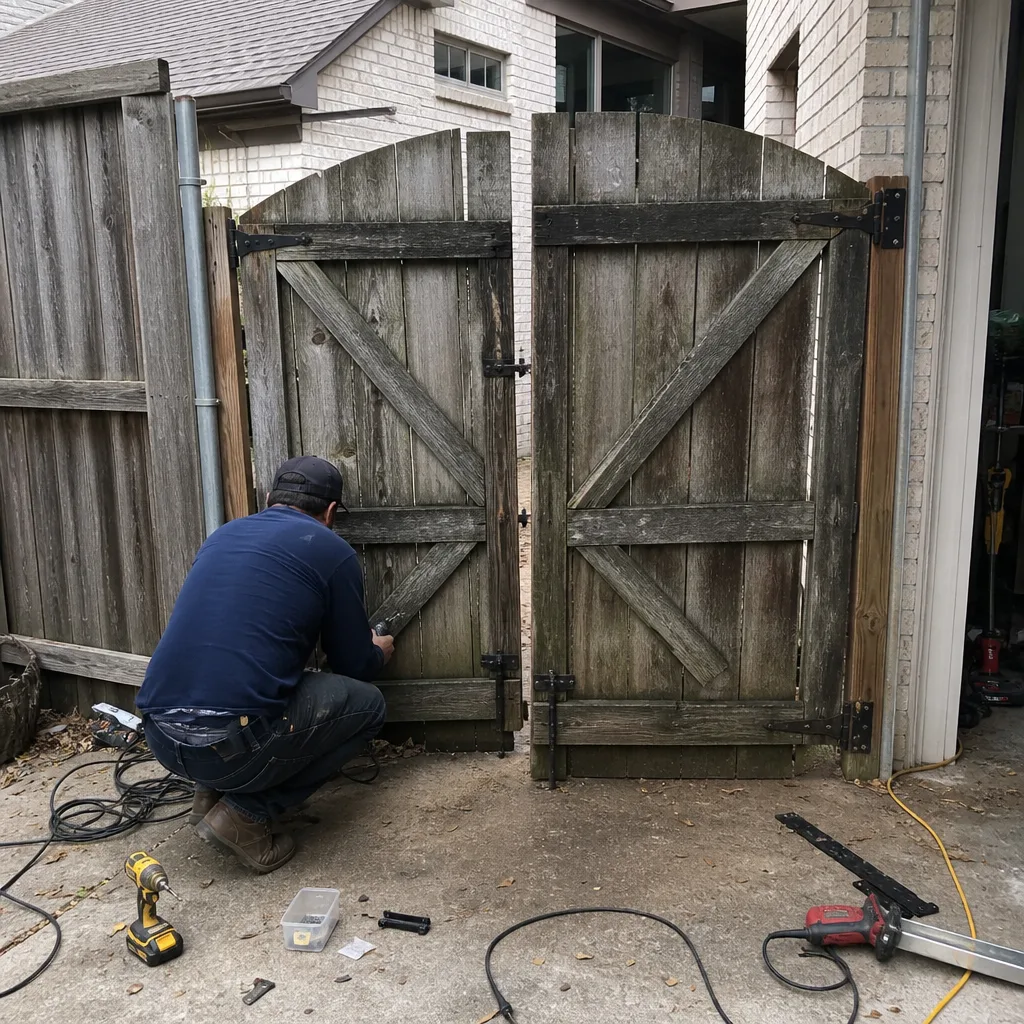 Before
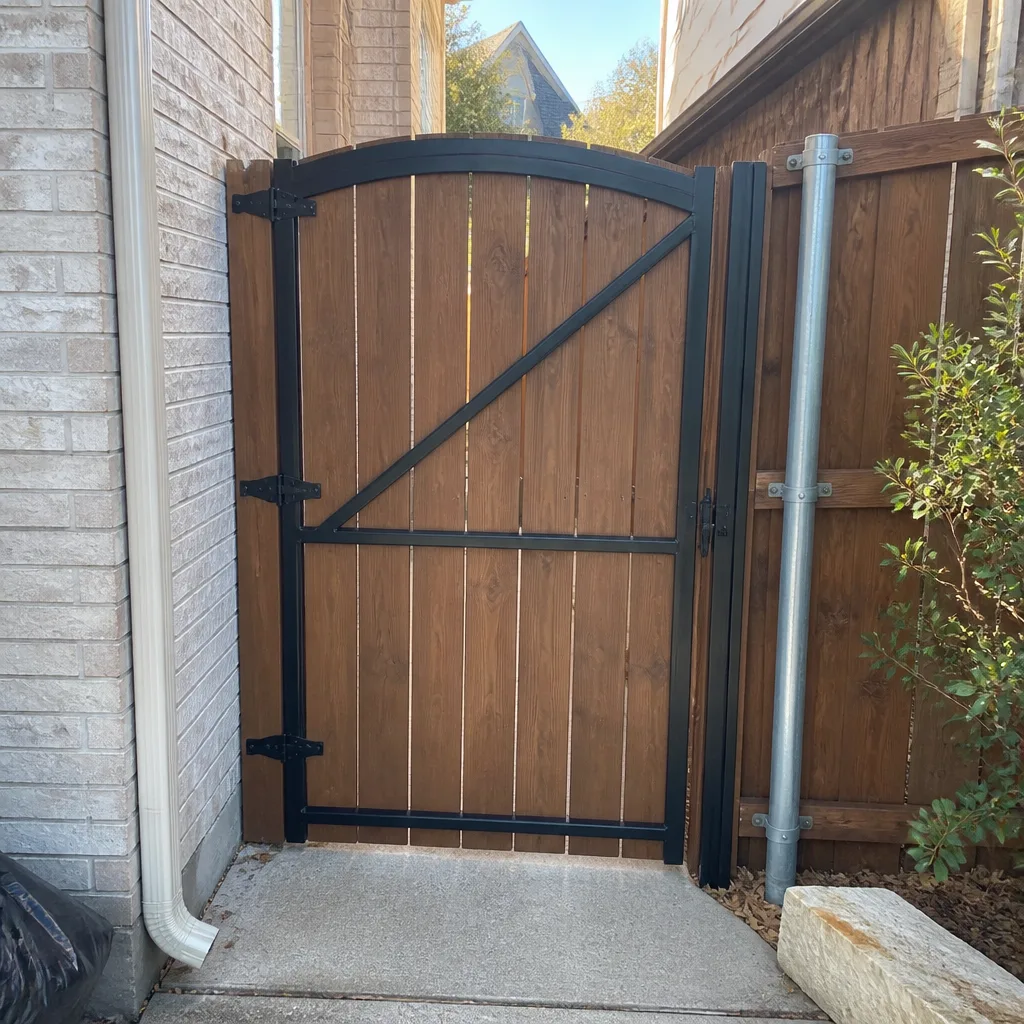 After
AfterGate Repair Maintenance Checklist for Frisco Homeowners
Most gate maintenance checklists tell you to “lubricate moving parts.” None of them tell you what lubricant to avoid on nylon gears, and the wrong one accelerates wear instead of preventing it. That’s the difference between a checklist that protects your gate and one that quietly destroys it. In Frisco, where summer heat cycles bake exposed aluminum and spring hail events test every weld and joint, a maintenance routine built on vague reminders won’t catch the failures that actually cost homeowners money. This guide gives you measurable pass-fail criteria, specific tolerance values, and a documentation method that turns every inspection into useful data. For more guides & resources on gate care, see our blog. By the time you finish, you’ll know exactly what a healthy gate looks like, what to record, and what to skip.
Quick Answer
A gate maintenance checklist for Frisco homeowners should cover six areas: hinge play tolerance, chain or belt tension, limit-switch travel, photo-eye alignment, lubrication by component type, and post-storm inspection after Collin County hail events. The key is measurable criteria: hinges should show no lateral play beyond 1/16 inch, chain slack should sit at 1/4 to 1/2 inch measured at the midpoint, and photo-eyes should be aligned within 1/8 inch of center. Document every reading so you can spot drift over time.
Table of Contents
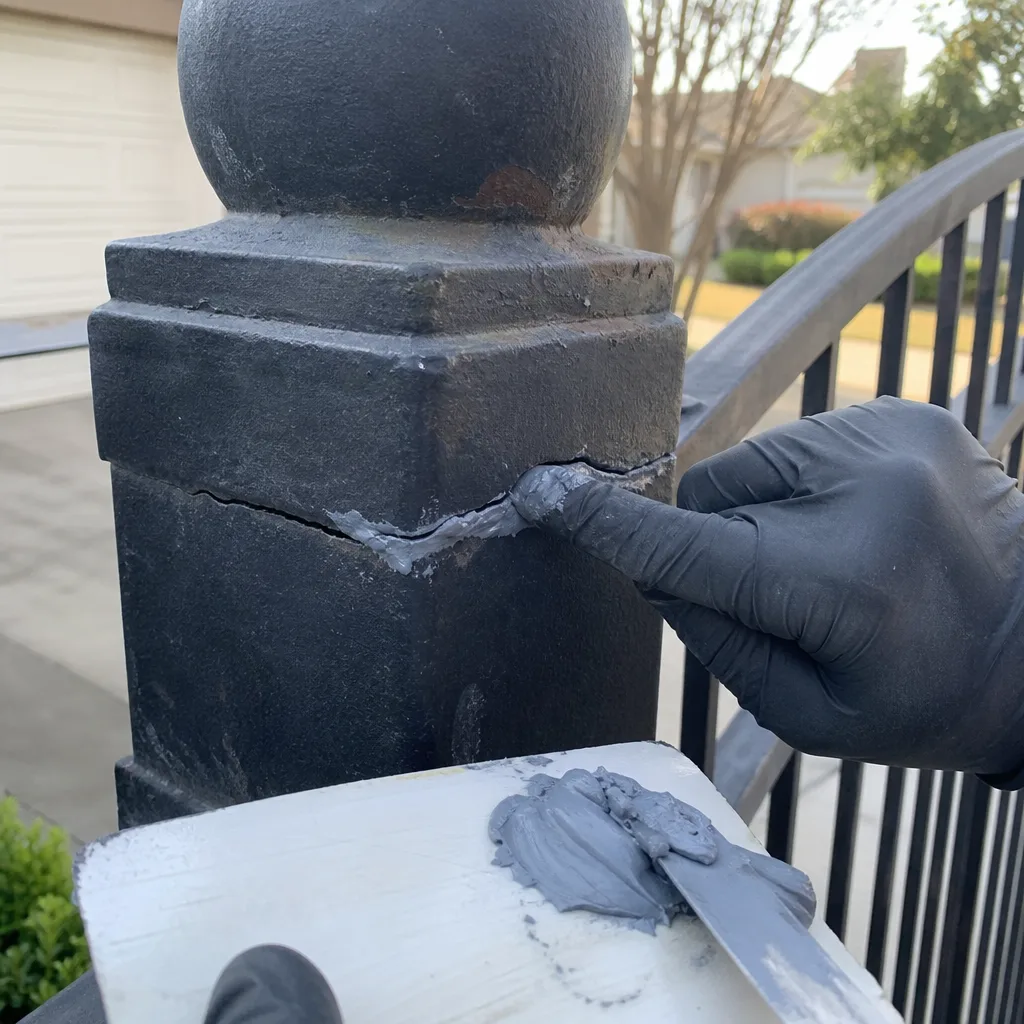
- Hinge Play: The Tolerance That Matters Most
- Lubrication by Component: What to Use, What to Avoid
- Limit-Switch Travel: Setting a Baseline You Can Recheck
- Photo-Eye Alignment: The Safety Circuit You Check First
- Frisco-Specific Maintenance Triggers: Post-Storm and Heat-Cycle Checks
- How to Log an Inspection Like a Commercial Access-Control Tech
- Three Tasks That Actually Extend Gate Operator Life (and Five That Don’t)
- Common Mistakes to Avoid
- When to Call a Professional
- Frequently Asked Questions
- The Bottom Line
BeforeAfterHinge Play: The Tolerance That Matters Most
Hinge play is the single most diagnostic measurement on any swing gate. When a hinge wears, the gate leaf drops, the latch misaligns, and the operator motor starts working against gravity instead of with it. The pass/fail threshold is 1/16 inch of lateral play. That’s the gap you should not exceed. Here’s how to check it: with the gate in the closed position, grip the latch-side corner and lift. A healthy hinge will allow almost no vertical movement. If you can see daylight shift at the hinge barrel or feel a knock, you’re past tolerance.
We measure hinge wear during every gate repair in Frisco because it tells us more than the motor ever will. A gate that has dropped 1/8 inch at the latch side is transferring every ounce of that torque to the operator arm. The motor works harder, the arm bracket flexes, and the limit switch drifts out of calibration. Stiff or frozen hinges are the same story from the other direction. A gate that requires two hands to move is no longer a gate being operated; it’s a gate being forced. When hinges bind, the operator’s current draw spikes and the control board heats up. That’s a repair bill waiting to happen, not a maintenance item.
The fix depends on what you find. Minor play on a greaseable hinge calls for cleaning the zerk fitting, purging old grease, and repacking with a fresh load. More than 1/16 inch means the hinge pin or bushing has worn past what lubrication can correct. At that point the hinge needs replacement, not adjustment. On aluminum gates in Frisco, we also check for galvanic corrosion where steel hinge hardware contacts the aluminum frame. The summer heat cycles and occasional rain create exactly the conditions for it. If you see white powder building up around the hinge fasteners, that’s a sign the two metals are reacting, and the hinge bolts should be inspected for thread damage before the assembly fails.
Lubrication by Component: What to Use, What to Avoid
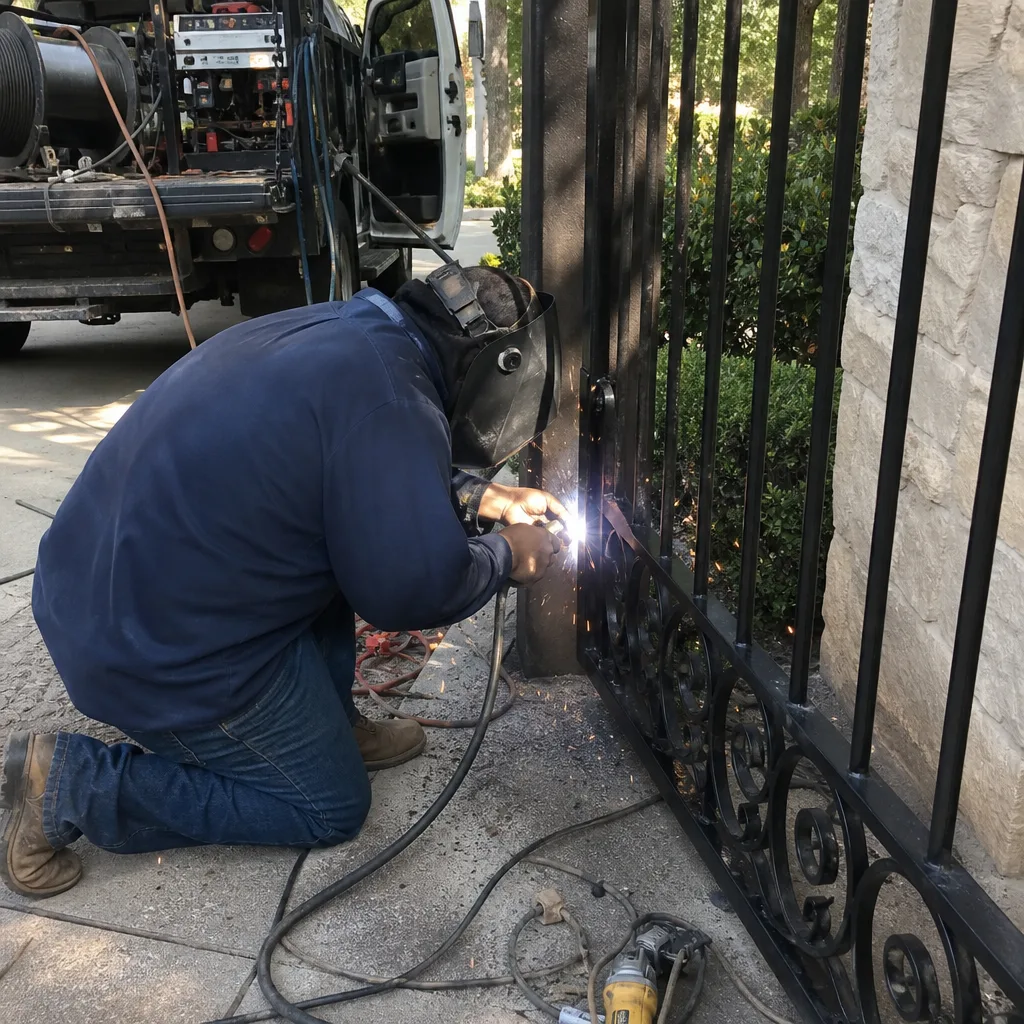
The wrong lubricant on a nylon gear is worse than no lubricant at all. That’s not a metaphor. Lithium grease, which is marketed for everything from door hinges to trailer hitches, breaks down nylon over time. It penetrates the polymer matrix and causes swelling, which changes the gear’s dimensional profile and accelerates tooth wear. We’ve pulled LiftMaster operators apart where a previous homeowner had greased the nylon drive gear with a standard white lithium spray, and the teeth looked like they’d been chewed on. The gate still worked, but it was running out of tolerance and screaming at every cycle.
Lubrication should be specific to the part. Hinges take a moly-based grease or a marine-grade bearing grease, applied through the zerk if you have one, or worked into the pin by cycling the gate. Chains take either chain-specific oil or a light bar-and-chain oil, wiped down after application to prevent dirt buildup. Nylon gears and plastic slide tracks take either no lubricant at all or a dry silicone spray, depending on the manufacturer’s guidance. The rule is simple: if the component is plastic, avoid lithium entirely. If you’re not sure what a part is made of, don’t lubricate it until you find out.
Here’s the practical list for a residential gate in Frisco:
- Steel hinges and pins: moly-based grease, applied sparingly, excess wiped away.
- Chain drive: chain-specific oil, wiped down after application, tension checked separately.
- Nylon gears inside the operator: dry silicone only, and only if the manufacturer calls for it.
- Photo-eye housings and lenses: no lubricant, ever. Clean with a dry microfiber cloth.
- Limit-switch cam and roller: a single drop of light machine oil if the roller is metal; nothing if it’s plastic.
- Weather seals and rubber stops: silicone spray to prevent sticking, but avoid overspray on any electrical connector.
One more point on frequency. Frisco’s climate doesn’t demand more lubrication than anywhere else in North Texas, but the heat does demand better discipline about what you use. A lubricant that’s already marginal at 90 degrees turns into a solvent at 105. If you’re applying a spray lubricant in July, do it in the morning before the metal heats up, or it will flash off before it penetrates.
Limit-Switch Travel: Setting a Baseline You Can Recheck
The limit switch tells the operator where to stop. It’s not a safety device; it’s a position device. And it drifts. Every time a gate cycles, the limit-switch mechanism wears a fraction. Every time the gate hits the stop hard, it knocks the calibration a hair further off. Over months, the gate ends up stopping a degree short or a degree past where it should. Neither one seems like a problem until the gate stops closing all the way one night, or slams into the open stop hard enough to crack a weld.
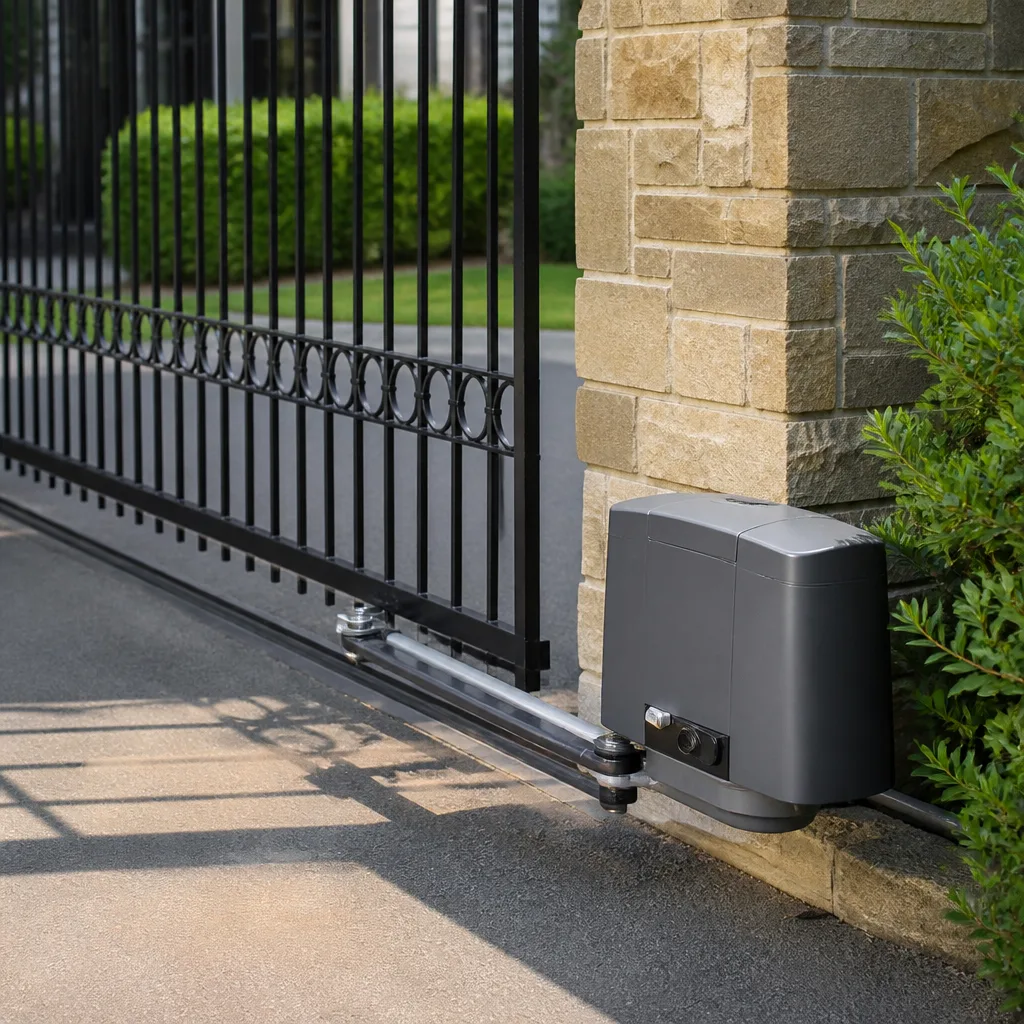
The measurable baseline is this: at the open position, the gate should rest against its positive stop while the operator arm sits at mid-travel, not fully extended or fully compressed. At the closed position, the gate should seat against the latch or center stop with the operator arm again at mid-travel. You can check this without a multimeter. Open the gate manually (or cycle it), then look at the operator arm. If the arm is hard against its internal stop before the gate reaches the external stop, the limit switch is set too far. If the gate reaches its stop and the operator keeps pushing, that’s the limit switch set past travel, and it puts constant pressure on the arm bracket.
In commercial access-control work, we record limit-switch position in degrees so that any technician can compare readings from one service call to the next. For a residential gate in Frisco, the same habit works. If you’re doing your own inspection, take a photo of the limit-switch cam position every six months and compare it. If the cam has moved from one inspection to the next, something is wearing: the switch itself, the drive gear, or the mechanical stop. If the photo is identical, that’s a passing result, and you move on. The goal isn’t to fix anything; it’s to prove nothing moved.
We’ve seen limit switches that were set 12 degrees past travel, and the gate still ran fine for months because the operator was strong enough to push through its own mistake. Then the arm bracket broke, and the repair was twice what a recalibration would have cost. The limit switch free gate motor and opener service in Frisco inspections we do include this check as a standard item, because it’s the cheapest repair on the list and the most commonly ignored.
Photo-Eye Alignment: The Safety Circuit You Check First
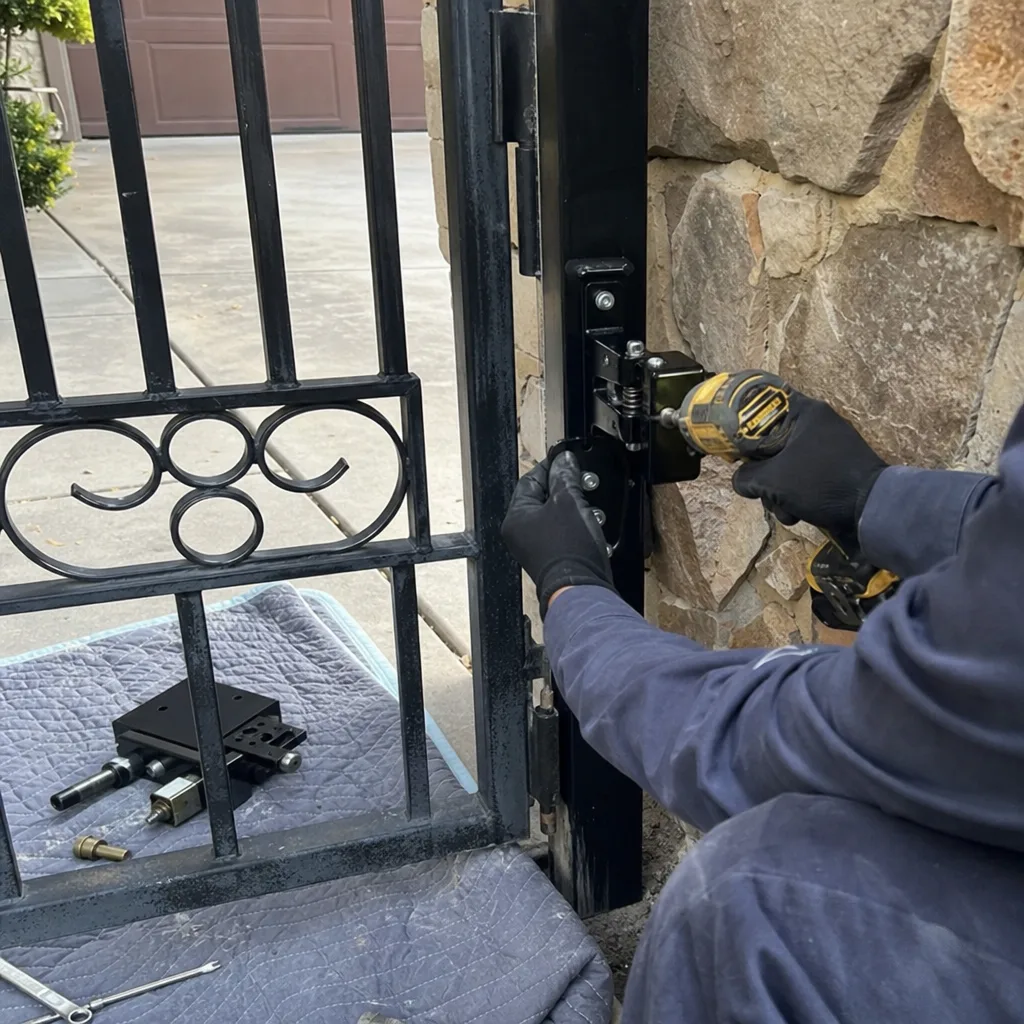
The photo-eye is the infrared beam that stops the gate if something crosses the path while it’s moving. A misaligned photo-eye is the most common reason a gate reverses for no visible reason, refuses to close, or sits in the open position with the operator light flashing. The alignment tolerance is roughly 1/8 inch of drift at a distance of 20 feet. In practice, what you check is simpler: the receiver eye should square up to the transmitter, and the beam should be uninterrupted.
Frisco’s wind is the reason these drift. A gate that rattles in the wind transfers vibration to the mounting bracket, and the photo-eye slowly turns. If you’ve got a long driveway gate with the photo-eyes mounted on posts, the posts themselves can shift in clay soil. North Texas clay expands when wet and contracts when dry, and two years of that is enough to move a post the 1/8 inch that takes the beam out of alignment. We see it regularly across Frisco, from the new-build neighborhoods on the west side to the older lots near the center.
The check takes 30 seconds. Put the gate halfway through its cycle, then block the beam with your hand. The gate should stop and reverse or stop and wait, depending on the operator’s programming. If the gate keeps moving, the beam is either misaligned, dirty, or wired incorrectly. If the gate won’t close at all, check the indicator lights on the photo-eye housings first. Most units have a small LED that shows beam status, and the pattern of flashes will tell you whether it’s an alignment issue or a power issue.
Cleaning is part of alignment. Dust and pollen build up on the lens, and after a Collin County storm the housings get a layer of grit. Wipe the lenses with a dry cloth. Don’t use glass cleaner, which leaves a film that scatters the beam. If the photo-eyes are mounted low on the gate posts, check for grass clippings and mud splash after every mow. A photo-eye blocked by a single grass blade will send the same fault signal as one knocked three inches out of alignment, and the operator won’t know the difference.
Frisco-Specific Maintenance Triggers: Post-Storm and Heat-Cycle Checks
Frisco sits in a hail corridor that runs across Collin County, and every homeowner with an automated gate should have a post-storm checklist. The check isn’t about cosmetic dents; it’s about the things hail breaks that you can’t see from the street. Here’s the order we recommend:
- Run the gate through one full cycle and listen for new sounds. Hail can knock a limit-switch cam, loosen a photo-eye bracket, or crack a plastic control board housing that was already sun-faded.
- Check hinge fasteners and operator arm bolts. Hail doesn’t loosen bolts on its own, but the wind that accompanies it does. A wind-driven gate that slams against its stop repeatedly will work hinge bolts loose within a single storm season.
- Inspect exposed wiring runs. Hail can split insulation on wiring routed along the gate frame, especially on aluminum gates where the wire runs through the top rail. Split insulation means moisture intrusion, and moisture intrusion means control board failure six months later.
- Look at the photo-eye housings. If a hail stone hit one hard enough to crack the plastic, the lens alignment is compromised even if the beam still works today.
- Check the gate frame for dents that cross a weld seam. A dent at a weld stresses the joint. Aluminum doesn’t absorb impact the way steel does; it cracks eventually, and the crack starts at the dent.
Summer heat brings its own triggers. Exposed aluminum expands and contracts through a 40-degree daily swing in July, and that movement works on every bolted connection. Run a post-summer check on the first cool week of October: retorque hinge bolts, check for paint cracking around fasteners (a sign the metal has been flexing), and inspect the weather seal on the operator housing. A seal that has baked hard and cracked will let moisture in during the winter rains, and that’s when you get a rusted limit-switch mechanism or a corroded control board connector.
One more Frisco note: sprinkler overspray. Gates installed near the driveway edge get watered, and chlorine-treated water is not inert. If your irrigation heads are close enough to hit the gate, adjust them. Water that pools on the operator housing or runs into the photo-eye bracket will cause corrosion that no amount of maintenance can outrun.
How to Log an Inspection Like a Commercial Access-Control Tech
Most maintenance checklists end with “repeat every six months.” That’s a half-finished thought. Repeating an inspection without recording the results gives you no baseline, no trend data, and no way to distinguish normal wear from drift that’s about to become a failure. Commercial access-control technicians log everything because the next technician might be a different person, and the client expects a written record of what was found and what was changed. A residential homeowner can steal that system for about ten minutes of work per inspection.
The format we use on every gate we touch includes four fields: what was measured, what the reading was, whether the reading passed or failed, and what was adjusted. For your own log, use a dedicated notebook or a notes app on your phone. The entry for a gate inspection looks like this:
- Date and time: March 15, 2026, 9:00 AM, post-winter check.
- Hinge play: measured at latch-side lift, less than 1/16 inch, passing.
- Chain tension (if applicable): 3/8 inch at midpoint, passing. No adjustment made.
- Limit-switch position: photo taken, matches previous photo from October 2025, no drift.
- Photo-eye alignment: beam visible, gate reverses correctly when blocked, passing.
- Lubrication: chain oiled, hinges inspected, no action needed on operator internals.
- Notes: sprinkler head near north post hitting gate during evening cycle; adjusted spray pattern.
That’s a maintenance record. Six months later you do the same check, compare the numbers, and if anything moved, you know exactly when it started moving. When you sell the house, this log is documentation. When a gate company tells you the operator needs replacement, you can show them the history and ask what specifically failed.
The equipment needed for this level of logging is modest: a notebook, a phone camera, and a measuring tape. You don’t need a multimeter. If you want to get more precise, a digital caliper will measure hinge play to the thousandth of an inch, but for residential purposes the 1/16-inch threshold is coarse enough to judge by eye with practice. Photograph everything. A photo of the limit-switch cam from three angles is more useful than a paragraph describing it, and it doesn’t require any technical skill to take.
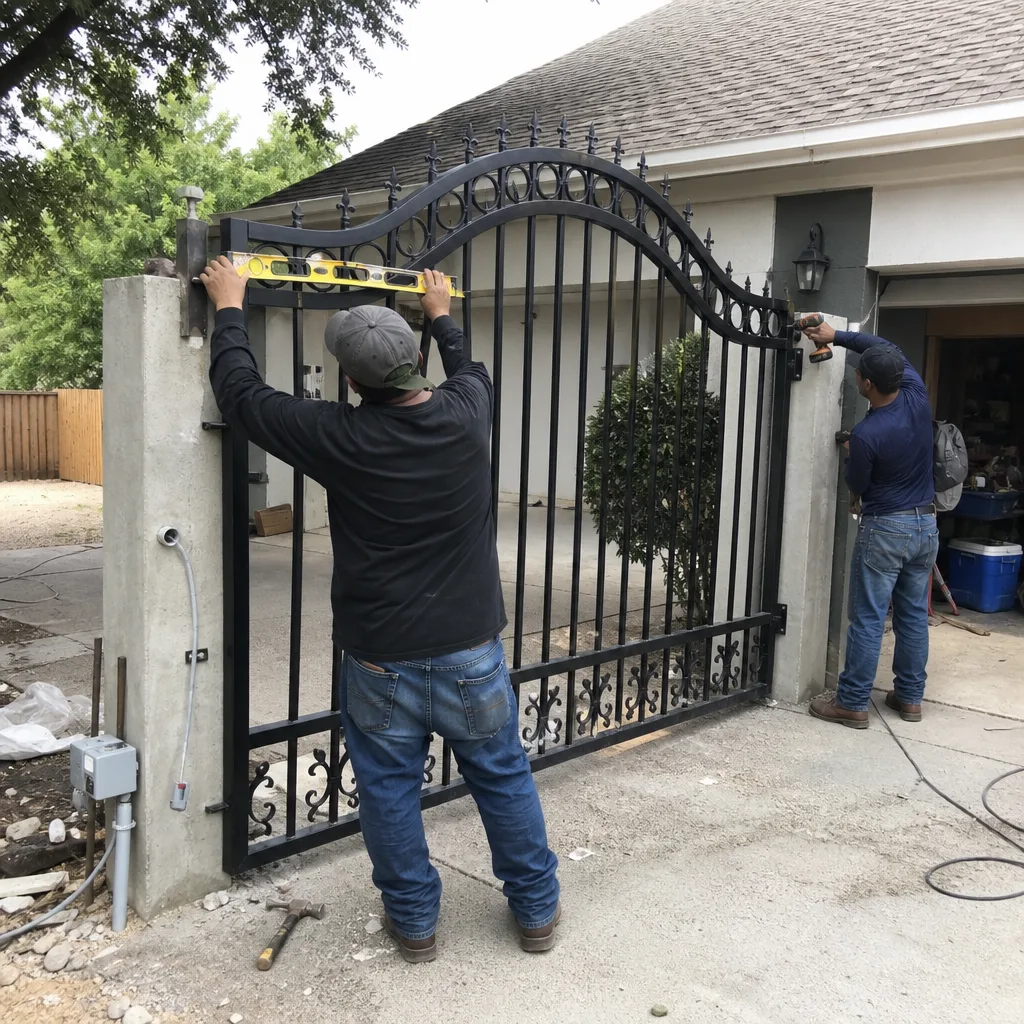
On every visit the team at Vance Gate Repair handles in Frisco, we leave a documented photo record of what was found, what was set, and what was installed, with the first photo taken before work starts. That’s the standard we use on commercial access-control jobs, and there’s no reason a residential gate can’t have the same treatment. A maintenance log that includes photos is the homeowner’s version of this habit, and it costs you nothing.
Three Tasks That Actually Extend Gate Operator Life (and Five That Don’t)
Here’s the honest list, the one most gate maintenance articles won’t print because it contradicts the content marketing they’re trying to build. Most of what gets recommended as “maintenance” has no measurable effect on operator lifespan. Here’s what actually matters:
The three tasks that genuinely extend operator life
- Replacing worn hinge bushings before they transfer load to the operator. When a hinge wears, the operator arm becomes the de facto support structure for the gate leaf, and that’s not what operator arms are designed for. Catching hinge play at or before 1/16 inch and replacing the bushing keeps the operator driving the gate instead of carrying it.
- Keeping the limit switch calibrated so the operator never runs against its internal stop. Every time the arm bottoms out against its own end cap, the drive gear bears the entire force of the motor’s torque. A few degrees of limit-switch error is the difference between a motor that pushes a gate closed and a motor that pushes against itself. Checking this twice a year and adjusting when it drifts likely extends operator life by years.
- Keeping photo-eyes clean and aligned so the safety circuit doesn’t false-trip. This one matters for a different reason. A photo-eye that constantly false-trips doesn’t damage the operator mechanically, but it damages the control board logically. Every fault cycle writes to the board’s memory, and over thousands of unnecessary fault cycles, boards develop logic errors. A clean, aligned photo-eye means a board that only has to process real events.
The five tasks that don’t have measurable effect
- Greasing zerk fittings on hinges that are already worn past tolerance. Grease doesn’t tighten a worn bushing. It just makes the failure quieter. If the hinge has 1/16 inch of play, lubricating it gives you a few more weeks of less-noise, not less-wear.
- Lubricating nylon gears “preventively.” As covered above, the wrong lubricant damages nylon, and even the right one rarely needs reapplication unless the operator manufacturer specifies it. Leave the internals alone unless you have a specific reason to open the housing.
- Wiping down the operator housing. Cosmetically nice, mechanically irrelevant. Dust in the housing is not a wear factor, and a coated layer of surface grime doesn’t affect heat dissipation on a residential operator. Skip it.
- Tightening every visible bolt to spec. Over-tightening hinge bolts can pinch bushings and cause the gate to bind. Unless a specific bolt is loose, leave it. The exception is operator arm bracket hardware, which should be checked for tightness regularly because it sees direct vibration.
- Running the gate “just to make sure it works” during long absences. Cycling the gate when you get home from a two-week trip doesn’t prevent any problem that wouldn’t have occurred anyway. What actually matters is checking the gate after storms and heat waves, which is a different trigger than routine cycling.
On operators from LiftMaster, FAAC, Mighty Mule, and Elite, this list holds. The brands are different in their wiring, their programming menus, and their part numbers, but none of them have a maintenance schedule that requires more than what’s covered here. The Vance Gate Repair Frisco home service area includes operators across all four brands, and we don’t replace one because a competitor only stocks two of them.
Common Mistakes to Avoid
- Using lithium grease on any plastic component. White lithium breaks down nylon over time and accelerates gear wear. If the part is plastic, use dry silicone or nothing at all.
- Ignoring a gate that’s “a little slower than it used to be.” A slowed gate means the motor is drawing more current, and more current means a hotter control board. That’s not a maintenance item to watch; it’s a diagnostic signal to investigate now.
- Treating a photo-eye fault by taping the sensor housing out of the beam path. This disables the safety reverse, which means the gate will stay open when something is actually in the way. If a Frisco windstorm knocks your photo-eyes out of alignment, realign them, don’t defeat them.
- Replacing a battery in a solar-powered gate operator without checking the panel output first. A dead battery is usually the symptom. The cause is typically a panel that’s shaded, dirty, or end-of-life. Replace the battery and keep the same panel position, and you’ll be replacing the battery again in six months.
- Documenting nothing. Without a written log and photos, every maintenance check starts from zero, and you can’t tell drift from normal variation. The log is the maintenance tool; the checklist is just the reminder.
- Checking the gate only when it breaks. By the time a gate fails, the repair is almost always more expensive than the maintenance item would have been. A $20 hinge bushing replaced early prevents a $300 operator arm replacement later.
When to Call a Professional
Some maintenance findings are diagnostic, not corrective. If your hinge play measures beyond 1/16 inch, the hinge needs replacement, not lubrication. If your limit switch has drifted more than a few degrees in under six months, the mechanical stop may be fatiguing. If your photo-eyes refuse to align even after cleaning and bracket tightening, the wiring or the photo-eye itself has likely started to fail. And if your operator makes a new sound, stop running the gate and make the call. Vance Gate Repair Frisco offers Gate Repair services with free estimates in Frisco. Call (940) 290-7996 for a written price on any gate repair, maintenance inspection, or operator service. If you need a second opinion on a written estimate from another company, bring the paperwork and we’ll review it at no cost.
Frequently Asked Questions
Twice a year is the right baseline for Frisco: once in late March or early April before the storm season, and once in early October after the summer heat breaks. Add a post-storm check after any hail event that hits your neighborhood, even if the visible damage is minor. The post-storm check takes 15 minutes and catches the photo-eye misalignments, hinge bolt loosening, and wiring damage that hail and wind produce. If you’re unsure what you’re looking at, read our Gate Repair Warning Signs: A Frisco Homeowner’s Reference Guide or call (940) 290-7996 for a free estimate on a professional inspection.
Check the photo-eyes first. A misaligned or dirty photo-eye is the most common reason a gate refuses to close, and it’s the easiest fix. Look for indicator lights on the photo-eye housings, wipe the lenses with a dry cloth, and make sure the transmitter and receiver face each other squarely. If the gate still won’t close after that, the next likely cause is a drifted limit switch or a worn hinge that’s binding the gate leaf. Those are professional repairs in most cases.
No. WD-40 is a water-displacing solvent, not a long-term lubricant, and it’s actively harmful on many gate components. It strips whatever lubricant was already there, leaves a thin film that attracts dust, and on nylon gears it accelerates wear. Use a moly-based grease on metal hinges, chain-specific oil on chains, and dry silicone on plastic components. If you only do one thing from this entire guide, stop spraying WD-40 into gate mechanisms.
Most gate companies in Frisco charge between $75 and $150 for a residential maintenance inspection, depending on the gate type and the number of operators. Some bundle the inspection fee into any repair you approve, and some bill it separately. Vance Gate Repair Frisco prices maintenance work in writing before the job starts, and every visit includes a documented photo record of everything found and adjusted. Call (940) 290-7996 for a written quote on your specific gate.
Hail causes mechanical damage to gates, not just cosmetic dents. A hail stone hitting a photo-eye housing can crack the plastic and knock the beam out of alignment. Wind accompanying hail can slam a gate against its stop hard enough to loosen hinge bolts or crack a weld at a dent point. Collin County hail events are a legitimate maintenance trigger, and every gate in Frisco should get a post-storm inspection after one. See our guide on Gate Repair Permits, Codes & Inspections in TX: What You Need to Know for regulatory context.
A quality residential gate operator from LiftMaster, FAAC, Mighty Mule, or Elite should run 8 to 12 years in Frisco’s climate if the gate hardware stays in tolerance. The heat is not the killer; the heat cycling combined with worn hinges and drifted limit switches is. An operator that runs against a binding gate and an out-of-calibration limit switch will burn out its board or strip its drive gear in half that time. The maintenance items that matter most are hinge play, limit-switch calibration, and photo-eye alignment.
The Bottom Line
A useful gate maintenance checklist tells you what passing looks like. Hinges should show no more than 1/16 inch of play. Limit-switch cams should match their previous photo. Photo-eyes should align within a visible beam path, and the gate should reverse when the beam is blocked. Chains should sit at 1/4 to 1/2 inch of slack at the midpoint. Everything else is either measured or photographed. Keep a log, run it twice a year, add a post-storm check after Collin County hail events, and stop lubricating nylon gears with lithium grease. The goal isn’t to turn homeowners into gate technicians; it’s to give Frisco homeowners a document that proves what changed and when. When something fails outside your comfort zone, the log tells any technician more than a verbal description ever could.
Written by Adrian Vance, Owner at Vance Gate Repair Frisco, serving Frisco since 2014.